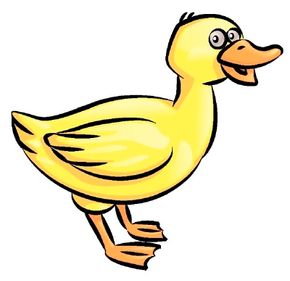
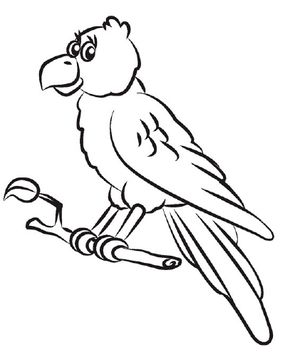
Drawing animals can be fun, and it's not as hard as you may think. By following the step-by-step instructions in this article, you can learn to draw many different kinds of creatures. By copying these pictures, you will learn basic drawing skills. You will be able to use those skills to draw other animals and even other things.
Before you start drawing, there are some basic tools you will need. Make sure you have a pencil, a pencil sharpener, an eraser, a felt-tip pen, and paper.
Advertisement
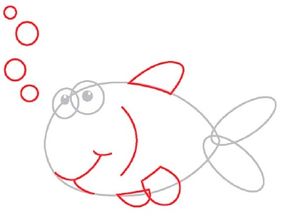
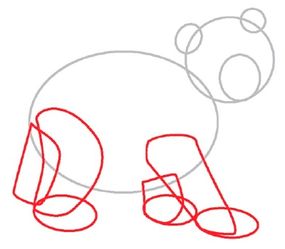
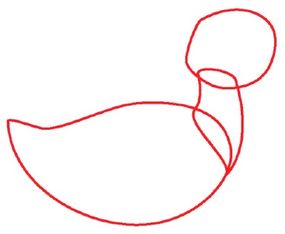
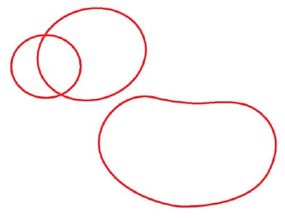
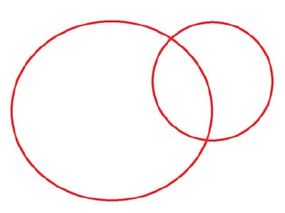
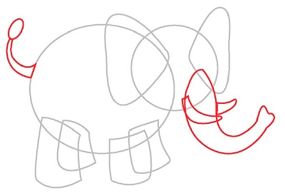
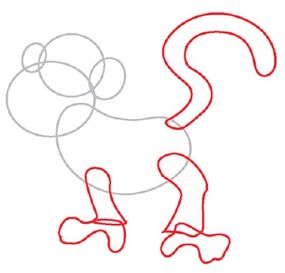
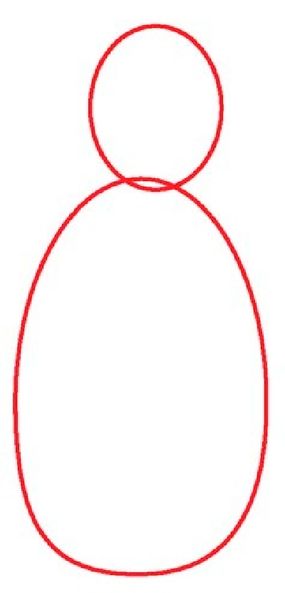
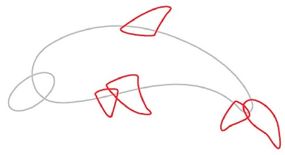
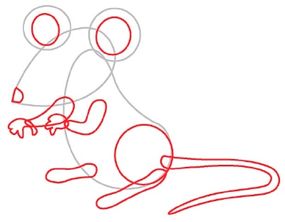
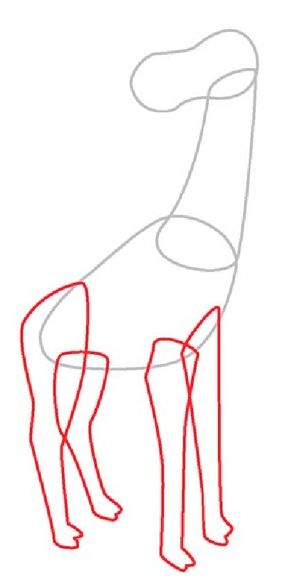
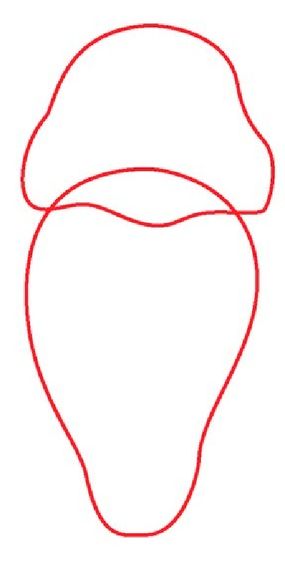
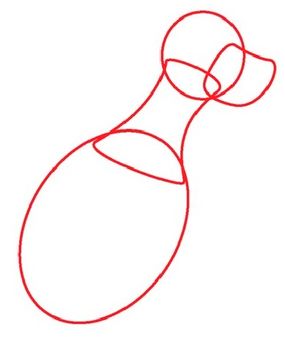
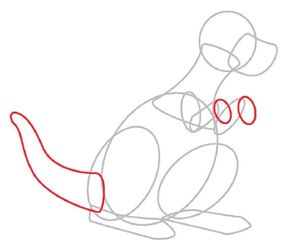
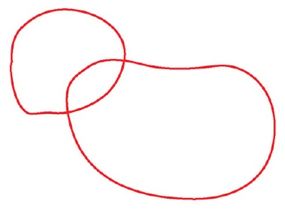
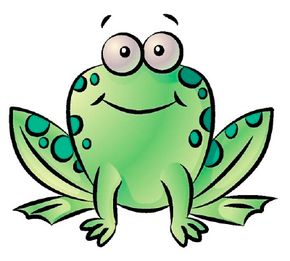
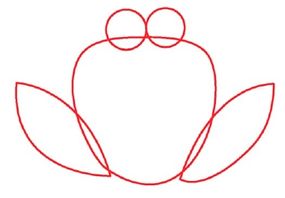
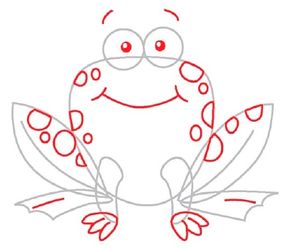
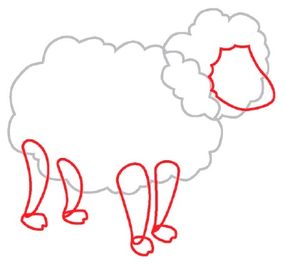
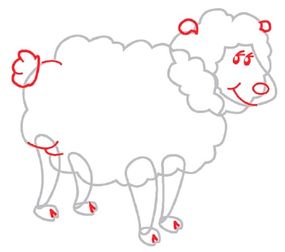
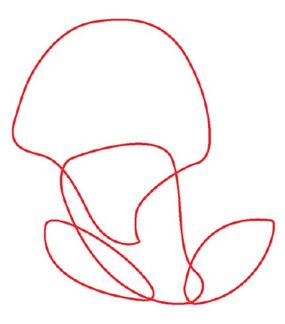
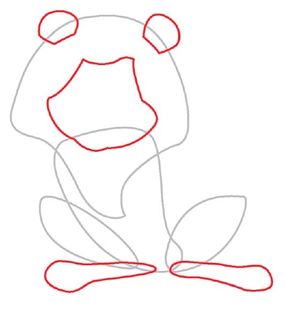
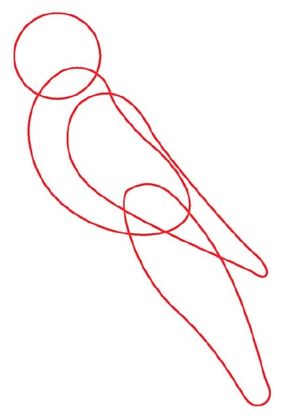
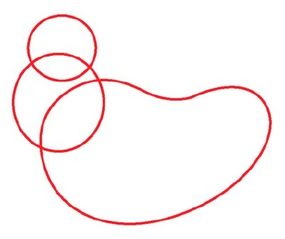
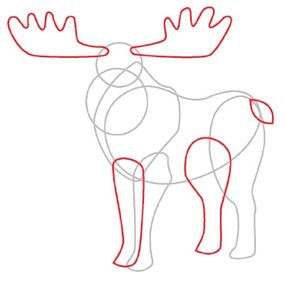
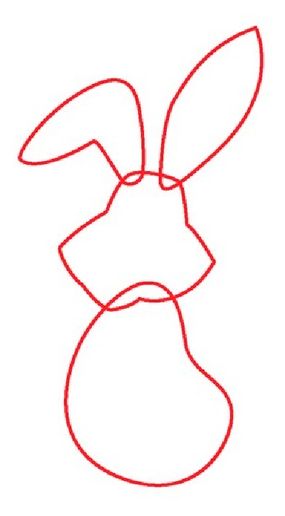
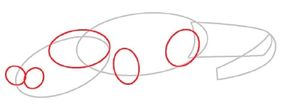
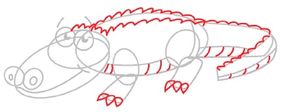
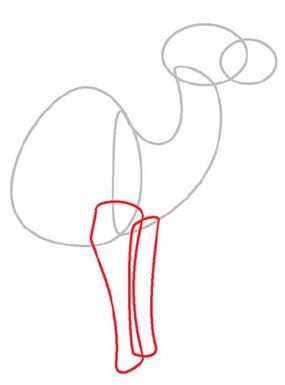
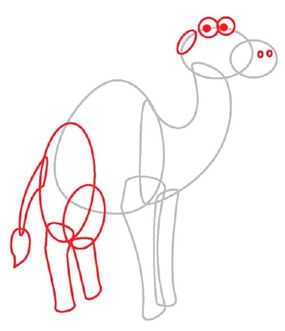
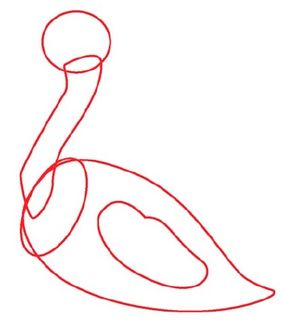
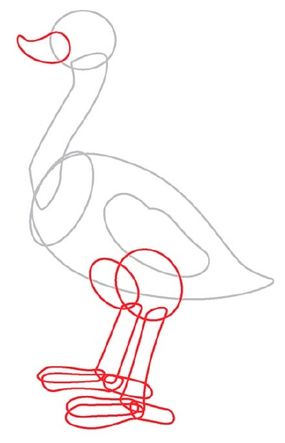
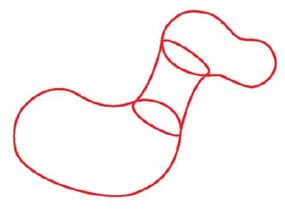
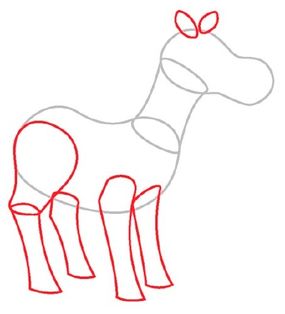
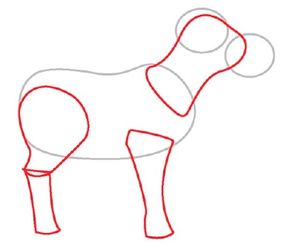
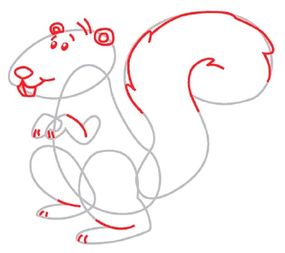
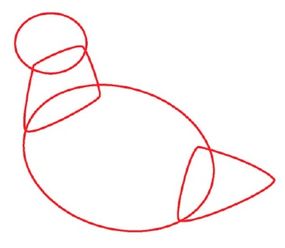
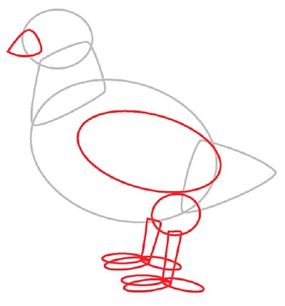
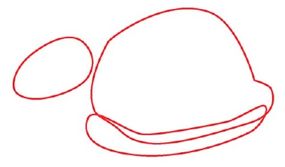
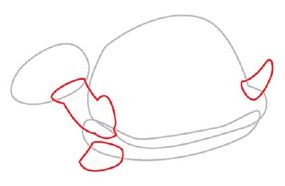
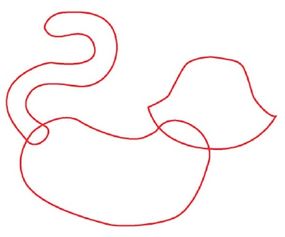
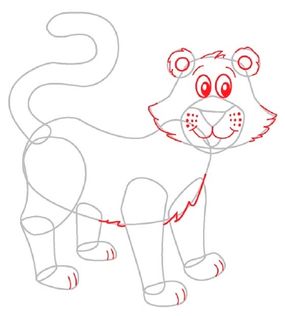
The animal sketches start with larger basic shapes like ovals, rectangles, and triangles. Draw the full shape, even if all of it will not be seen in the final drawing. You can erase the part you don't need later.
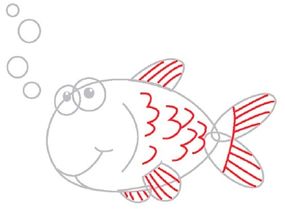
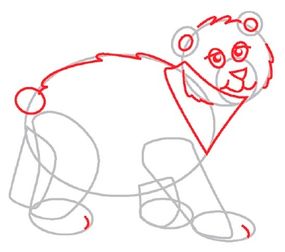
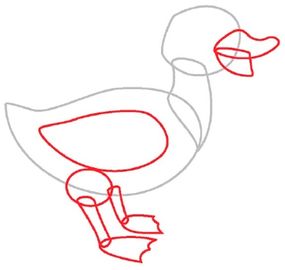
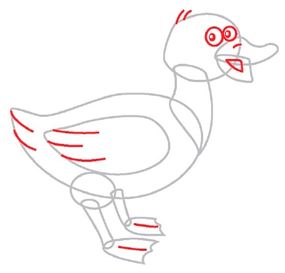
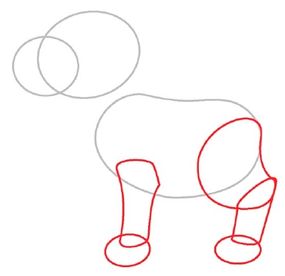
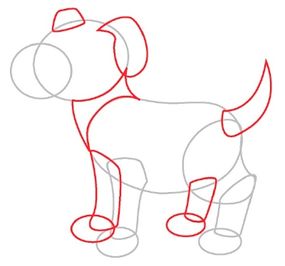
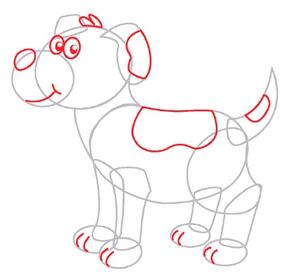
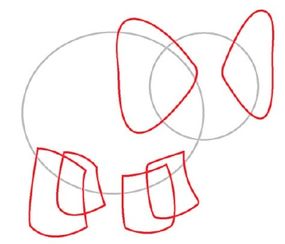
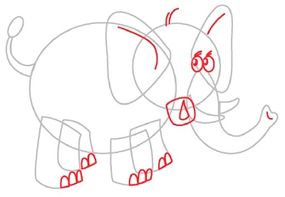
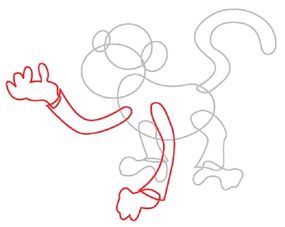
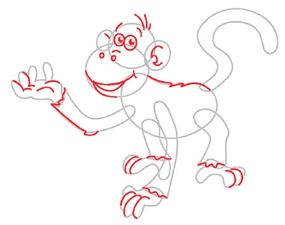
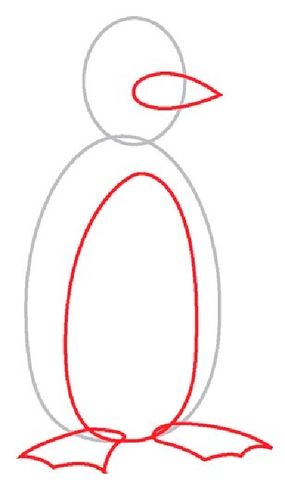
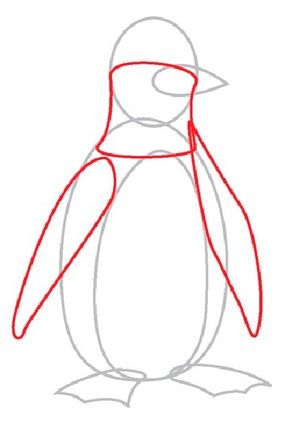
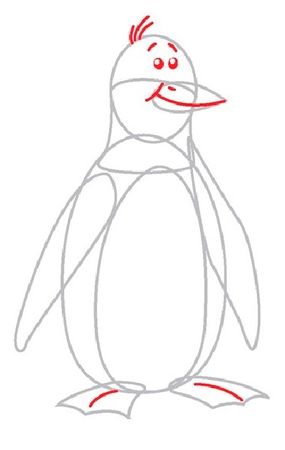
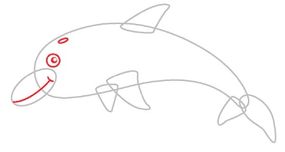
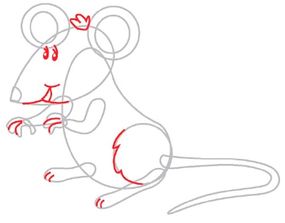
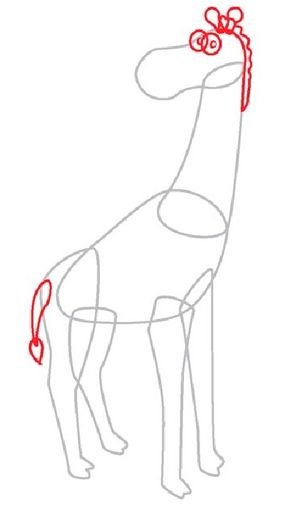
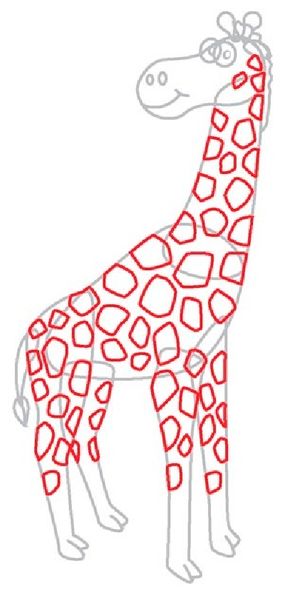
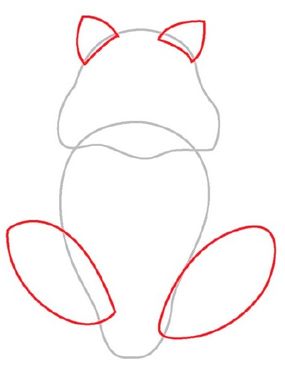
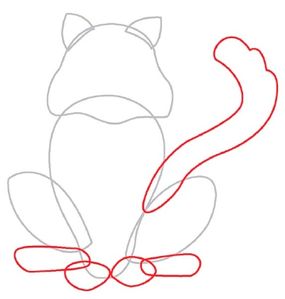
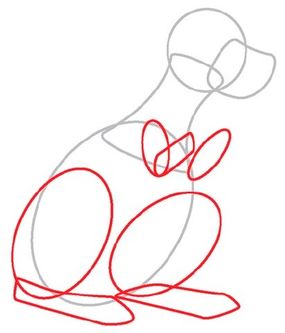
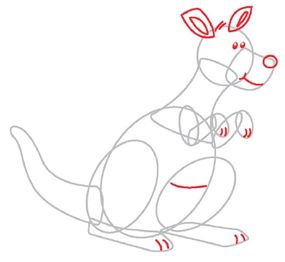
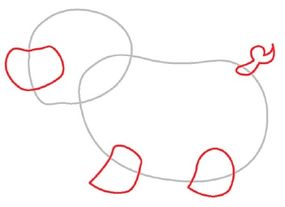
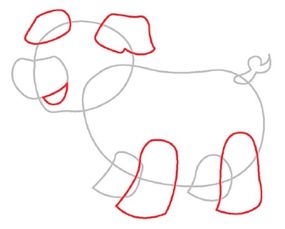
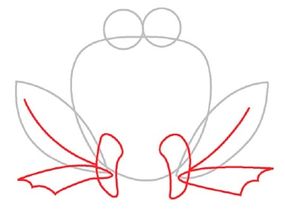
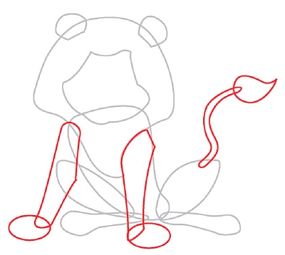
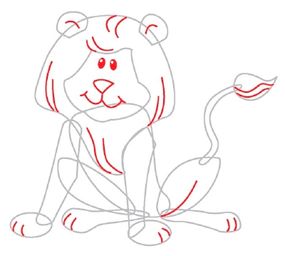
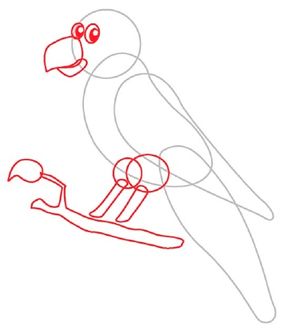
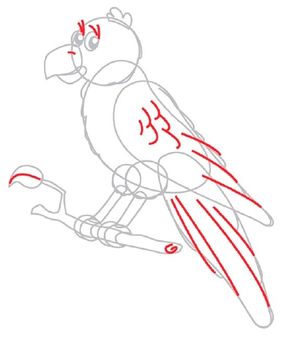
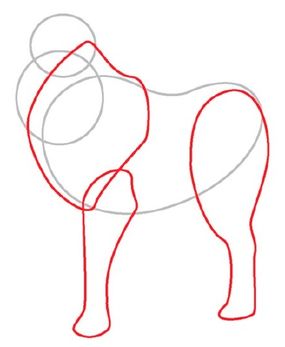
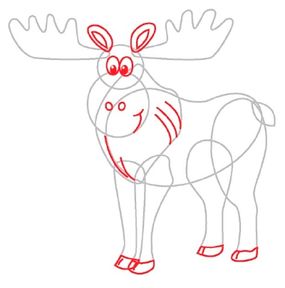
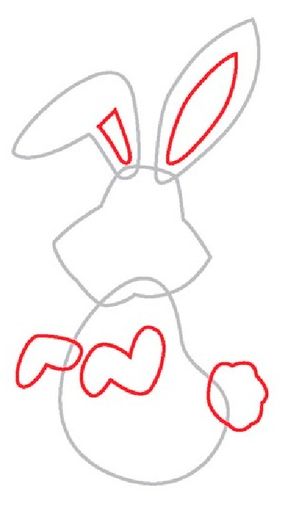
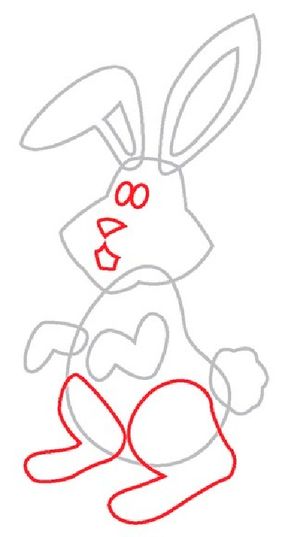
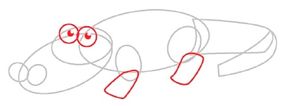
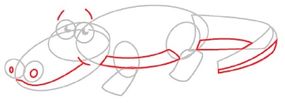
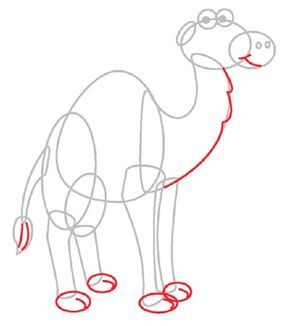
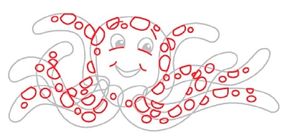
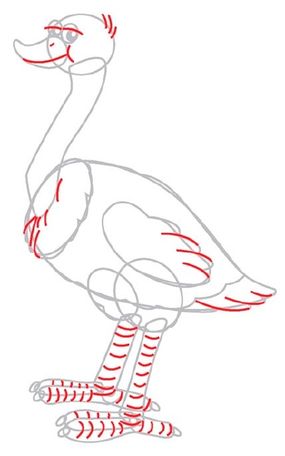
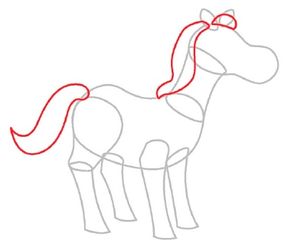
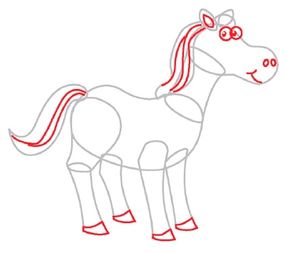
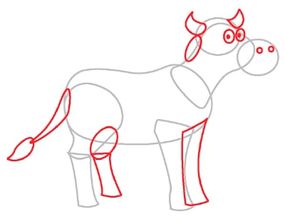
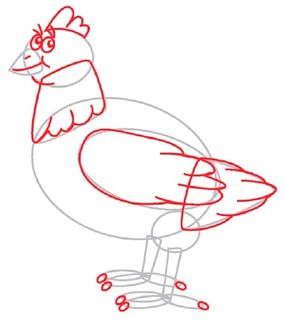
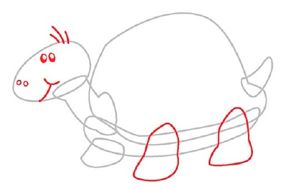
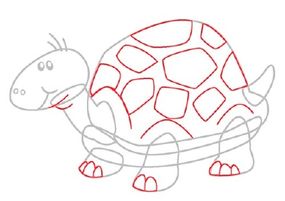
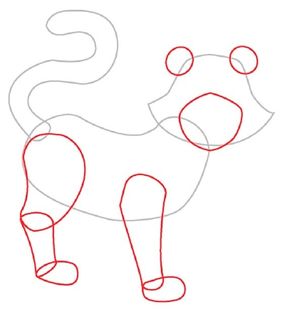
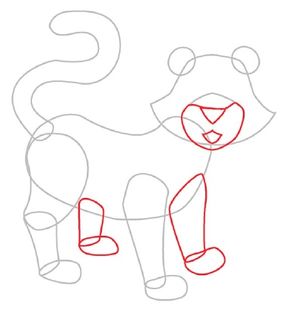
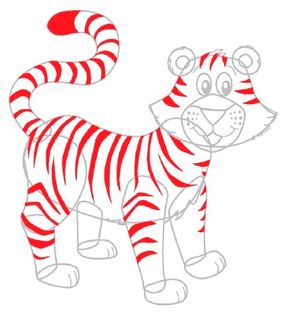
Each consecutive step adds more detail until you have the finished animal drawing. The steps are colored to show exactly what to draw when. The lines for each new step are shown in red, while the lines from previous steps are shown in gray.
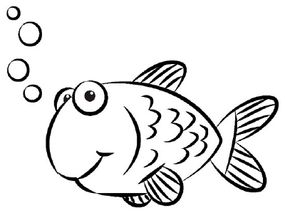
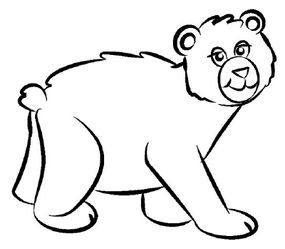
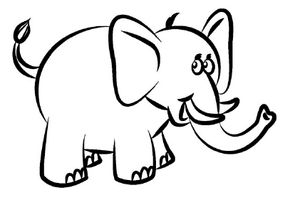
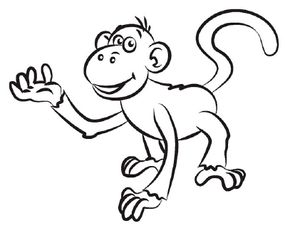
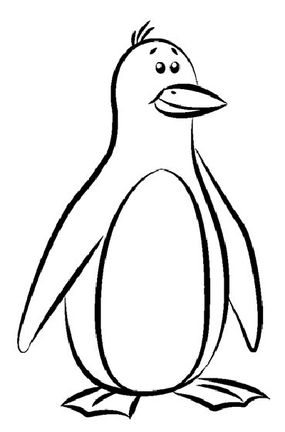
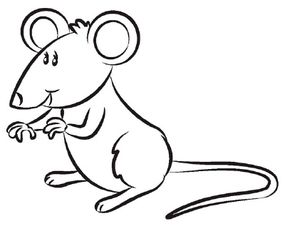
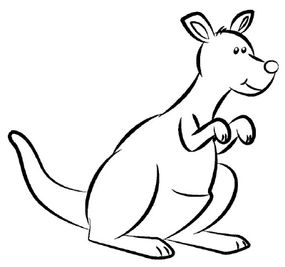
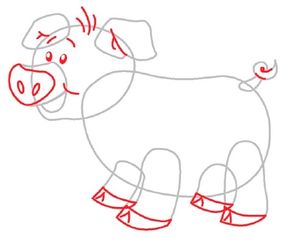
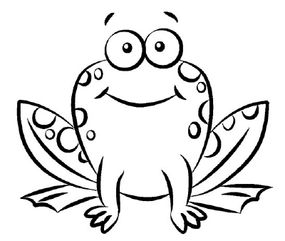
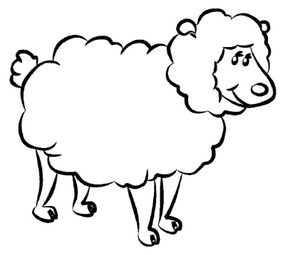
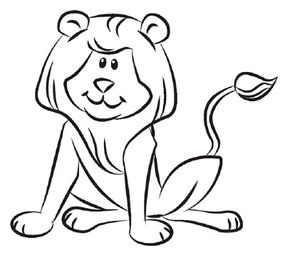
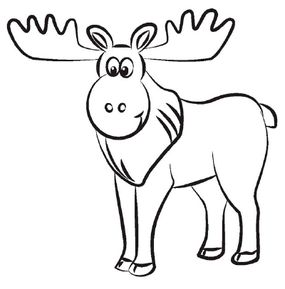
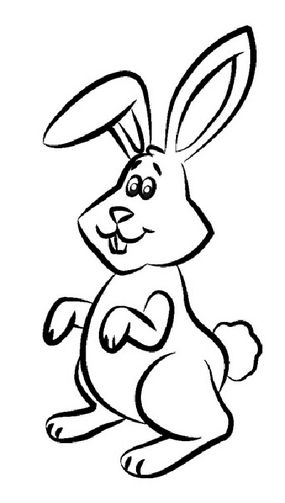
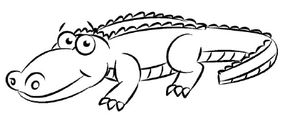
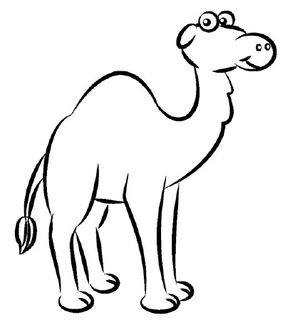
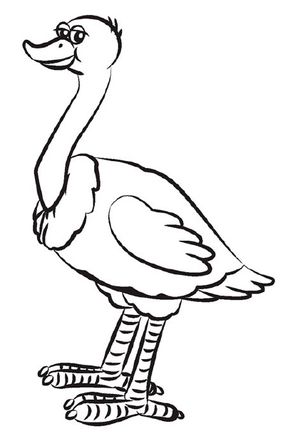
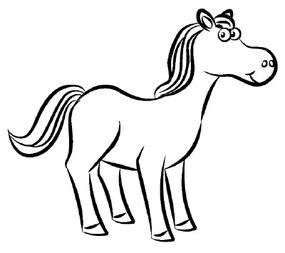
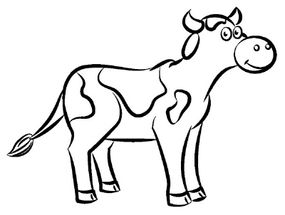
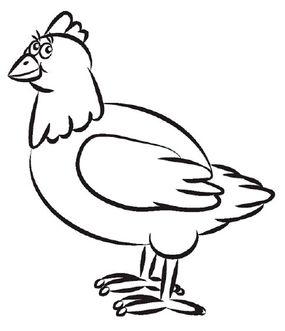
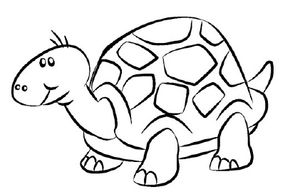
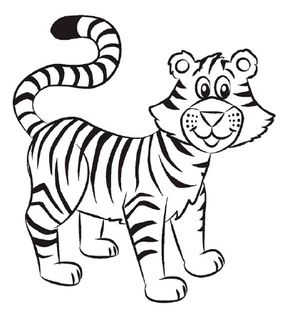
After all the steps are drawn, use a felt-tip pen to go over the pencil lines. Only ink over the lines you need in the final drawing. After giving the felt-tip ink some time to dry so it won't smear, use an eraser to erase the pencil lines.
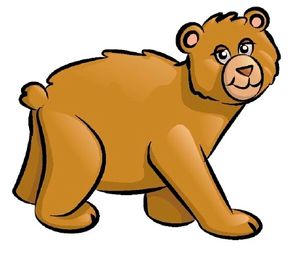
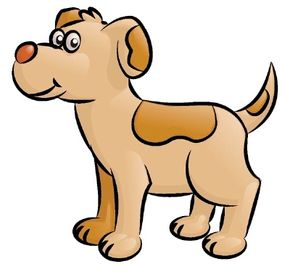
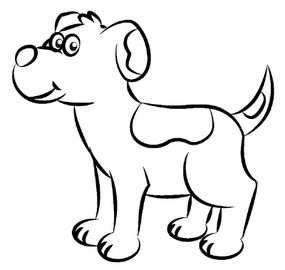
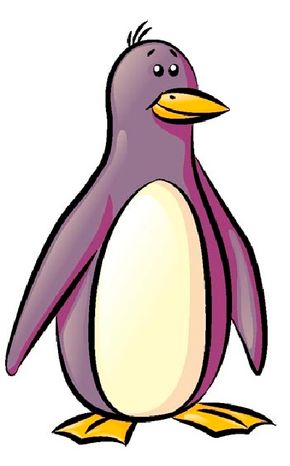
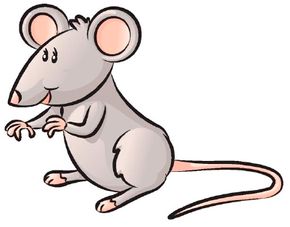
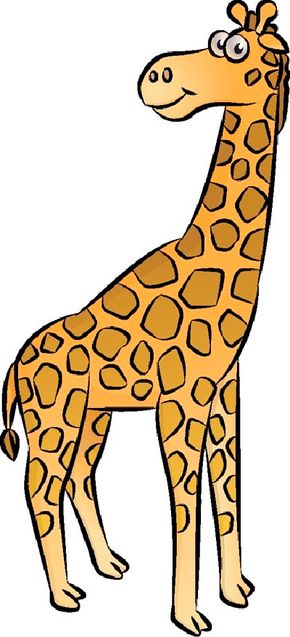
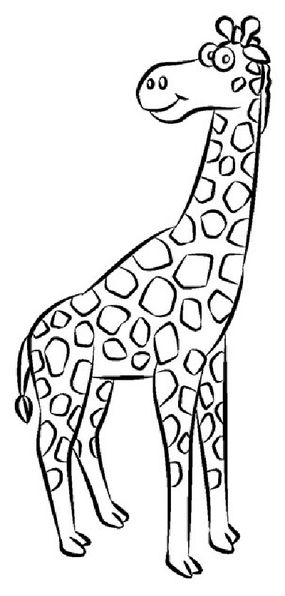
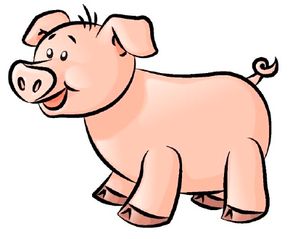
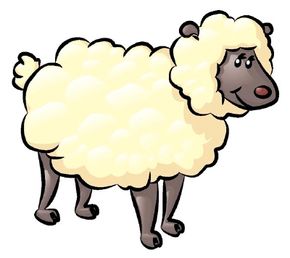
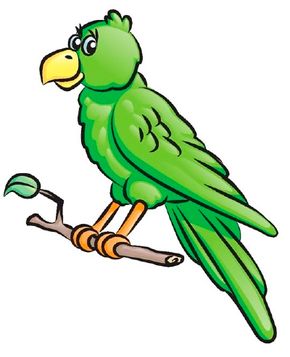
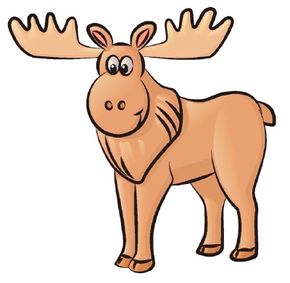
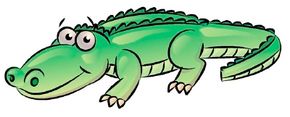
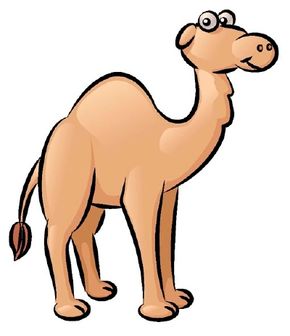
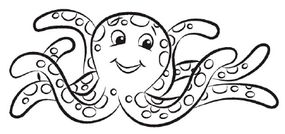
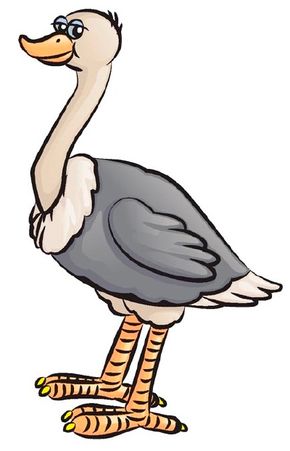
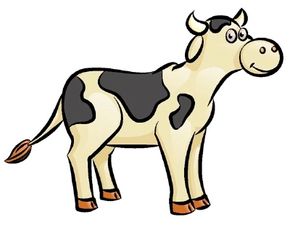
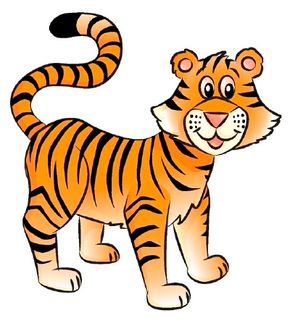
And there's your completed drawing!
Learn to draw your favorite animal with the articles in this series:
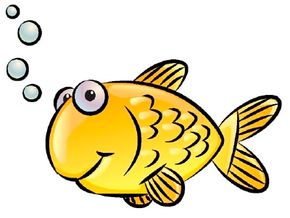
- Goldfish (4 steps)
- Bear (4 steps)
- Duck (4 steps)
- Dog (5 steps)
- Elephant (5 steps)
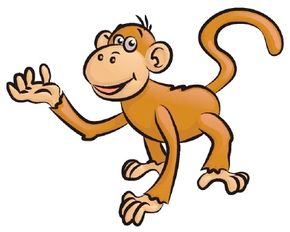
- Monkey (5 steps)
- Penguin (5 steps)
- Dolphin (4 steps)
- Mouse (4 steps)
- Giraffe (5 steps)
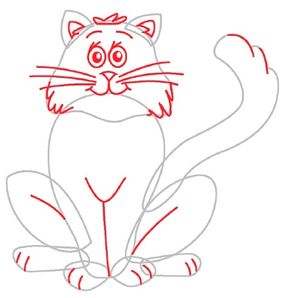
- Cat (5 steps)
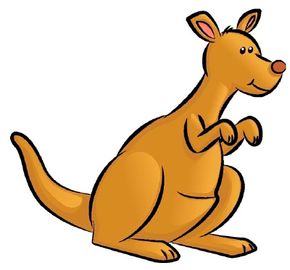
- Kangaroo (5 steps)
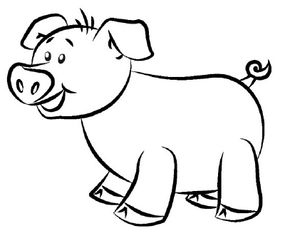
- Pig (5 steps)
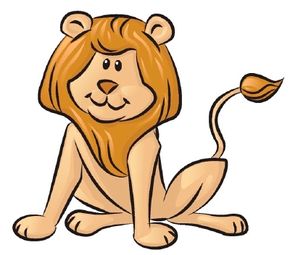
- Lion (5 steps)
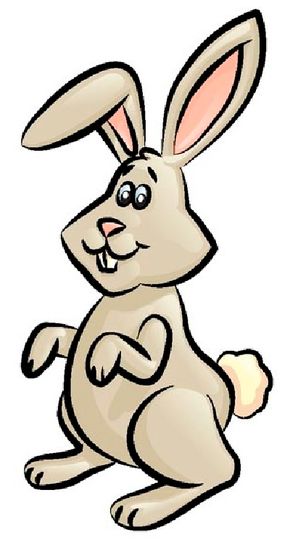
- Rabbit (5 steps)
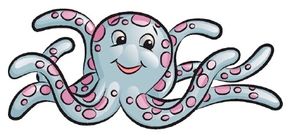
- Octopus (4 steps)
- Ostrich (5 steps)
- Horse (5 steps)
- Cow (5 steps)
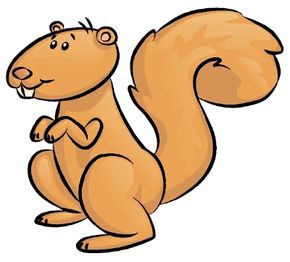
- Squirrel (4 steps)
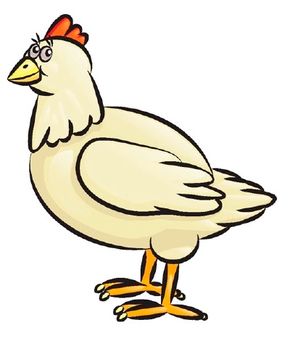
- Chicken (4 steps)
- Turtle (5 steps)
- Tiger (4 steps)
See all How to Draw articles.