Advertisement
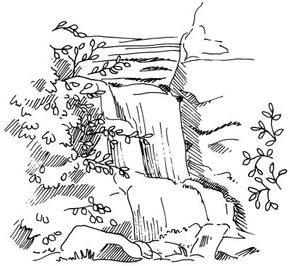
A majestic waterfall. A charming village. A peaceful mountain stream. With the help of the simple instructions in this article, you can learn to draw some of the most lovely and stunning landscapes in our world. Even if you've never seen some of these landscapes in person, learning to draw them will feel like compiling an album of snapshots.
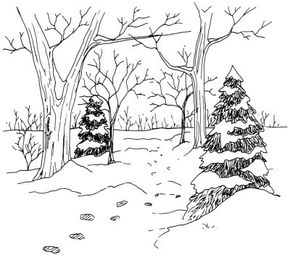
All you need is a No. 2 pencil, a pencil sharpener, a ruler, and an eraser. Then you can practice drawing a sweltering desert scene, a tumbling waterfall, and a path through snow-covered woods.
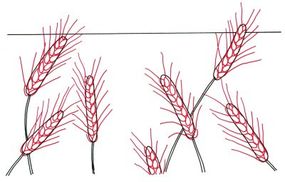
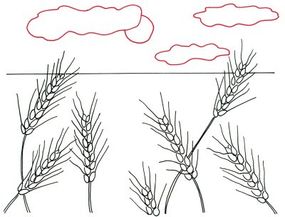
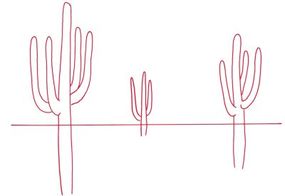
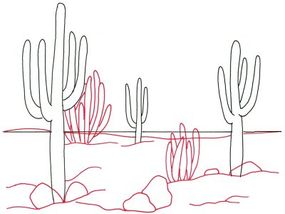
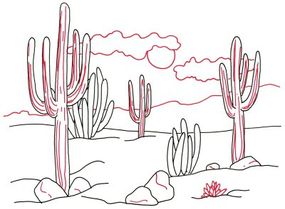
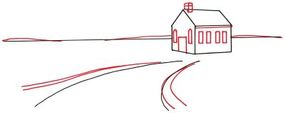
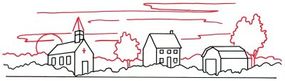
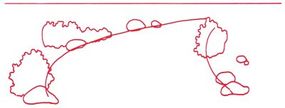
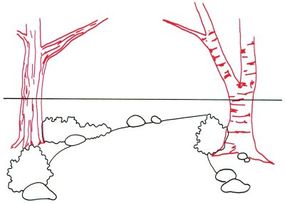
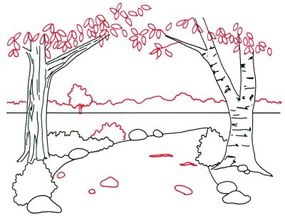
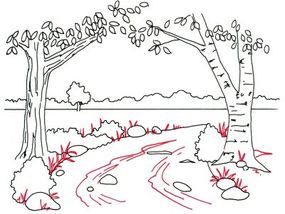
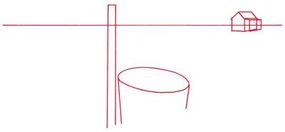
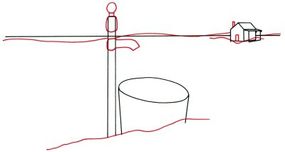
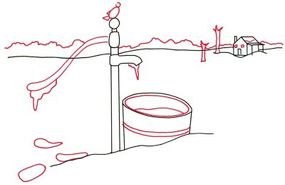
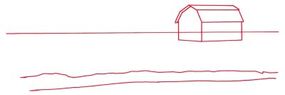
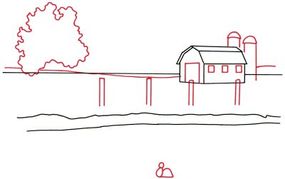
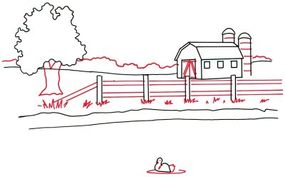
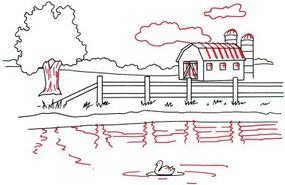
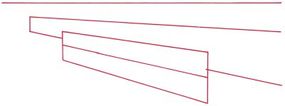
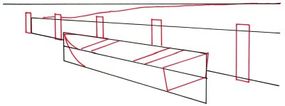
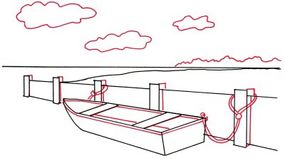
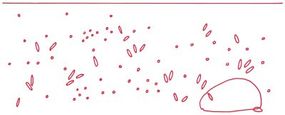
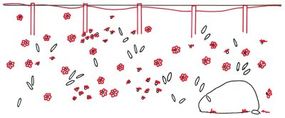
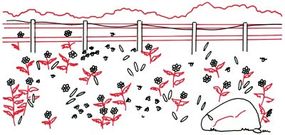
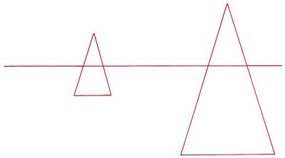
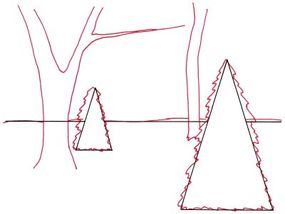
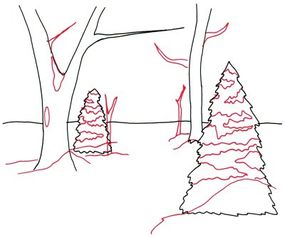
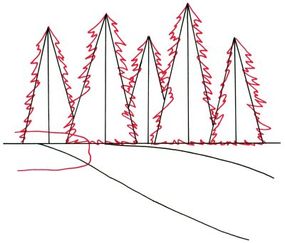
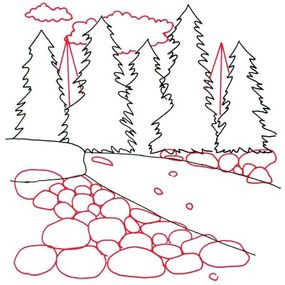
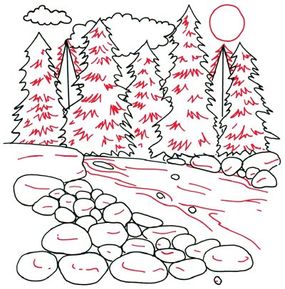
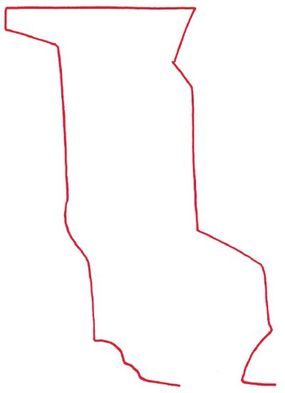
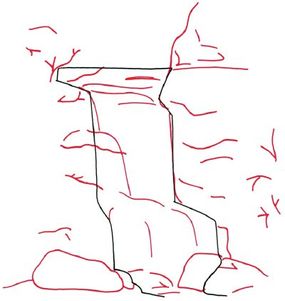
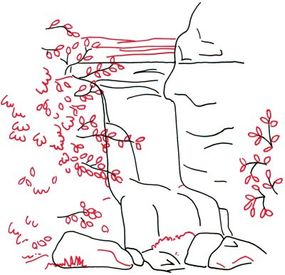
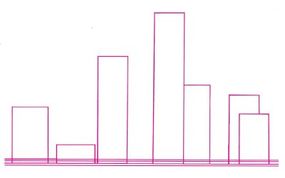
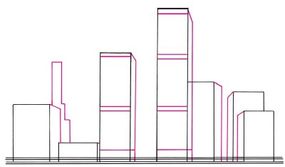
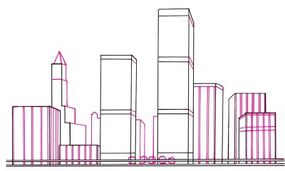
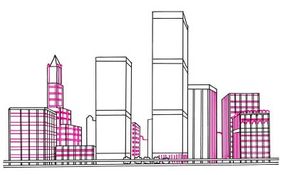
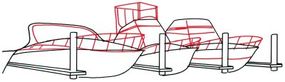
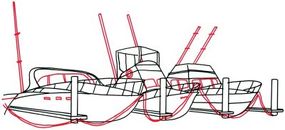
Each drawing begins with a few simple shapes printed in red ink. The second step shows the first drawing in black. The new shapes and marks you're going to add appear in red. This shows you how to make step one's drawing look like that in step two. The following steps also show the earlier drawings in black and the new marks and shapes in red.
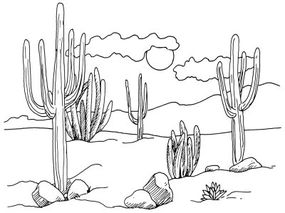
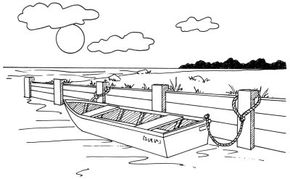
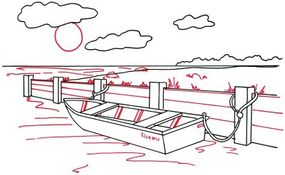
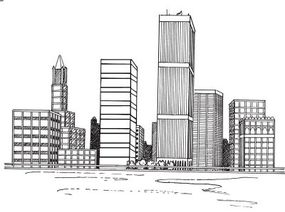
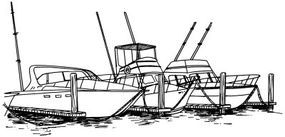
Draw lightly with your pencil. This makes it easier to erase mistakes and other marks that change slightly in later steps. When you have finished, use a pen or fine felt-tip marker to darken the pencil marks that make up the finished drawing. Then gently erase any remaining pencil marks.
When you complete all the drawings, you will have 16 drawings showing a wide variety of stunning landscapes.
If you wish, you can add color by using crayons or colored pencils or markers. You may want to cut out your drawings and tape or glue them onto colored construction paper. Then you will be able to display your collection of drawings showing all sorts of vivid landscapes. Have fun!
Perfect your drawing skills with these landscapes:
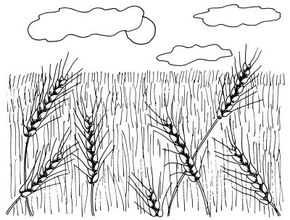
- Wheat Fields (4 steps)
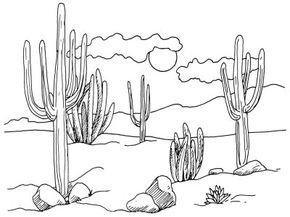
- Desert Cacti (4 steps)
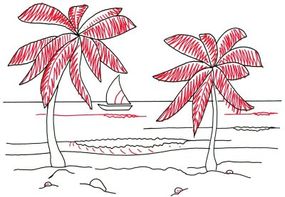
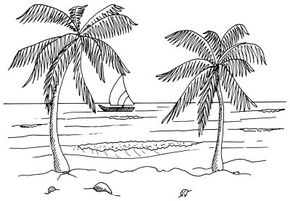
- Tropical Beach Scene (5 steps)
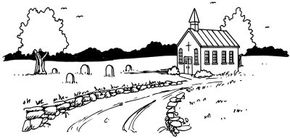
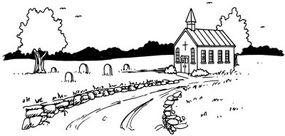
- Country Church (5 steps)
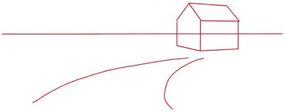
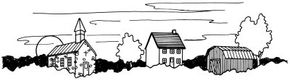
- Village (5 steps)
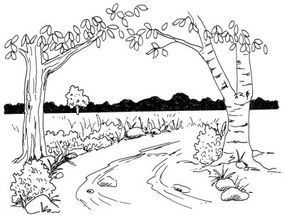
- Rural Lane (5 steps)
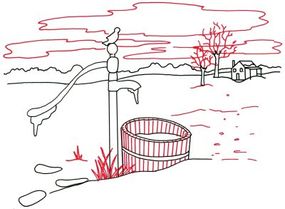
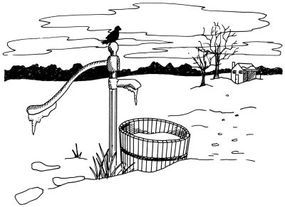
- Icy Water Pump (5 steps)
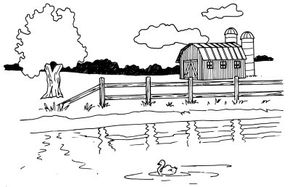
- Barn and Pond (5 steps)
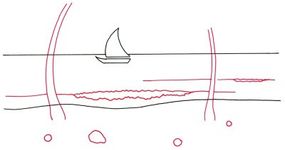
- Rowboat at a Seawall (5 steps)
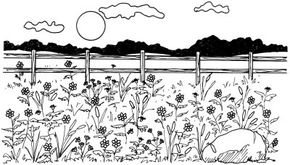
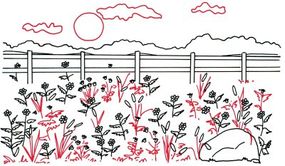
- Field of Flowers (5 steps)
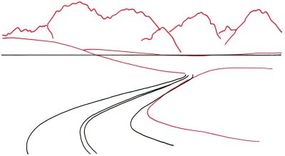
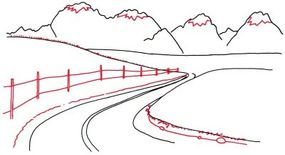
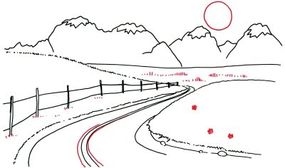
- Mountain Vista (5 steps)
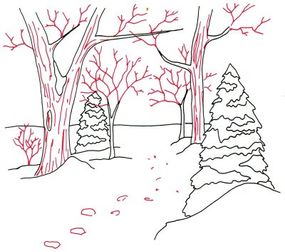
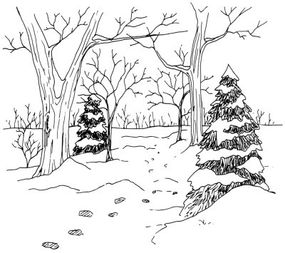
- Woodland Trail (5 steps)
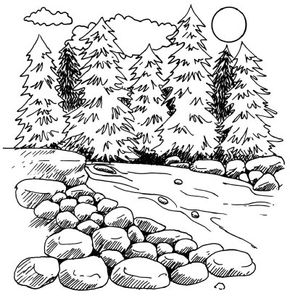
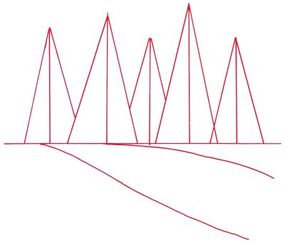
- Mountain Stream (5 steps)
- Waterfall (4 steps)
- Cityscape (5 steps)
- Harbor Scene (5 steps)
Advertisement