From big and tough semi-trucks to lean and fast sports cars, cars are cool to drive and even cooler to learn how to draw. In this article you'll find a great variety of cars and simple, step-by-step instructions that will help you learn how to draw them.
Drawing can be fun, and it is not as hard as you may think. One of the secrets of drawing is that any object can be broken down into its smaller parts.
Advertisement
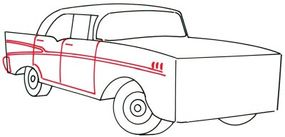
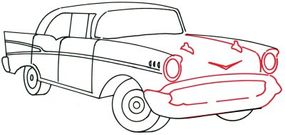
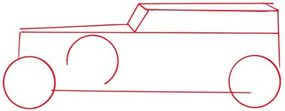
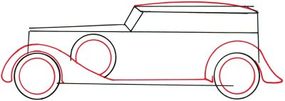
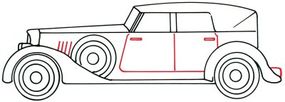
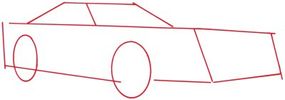
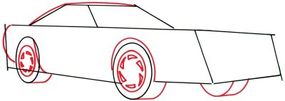
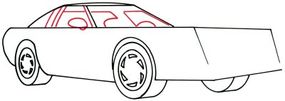
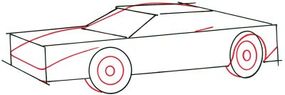
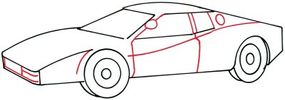
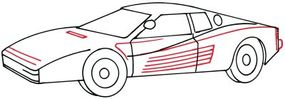
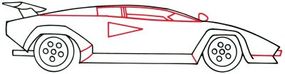
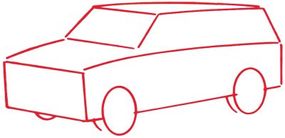
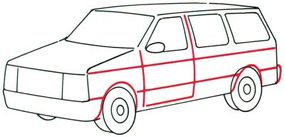
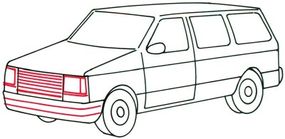
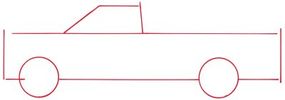
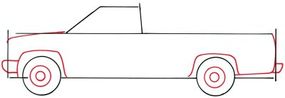
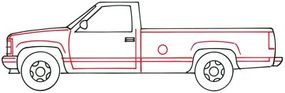
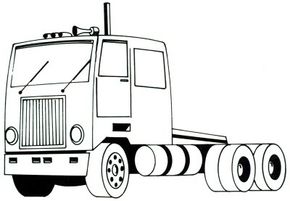
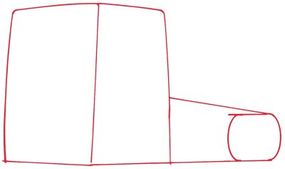
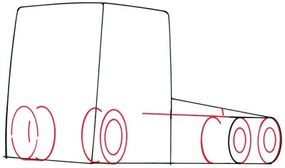
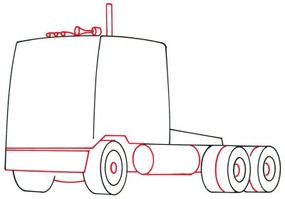
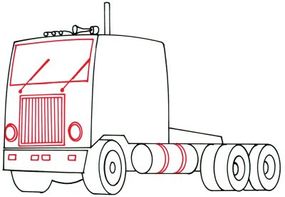
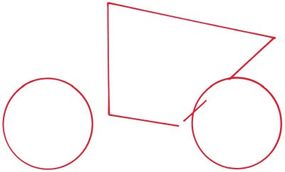
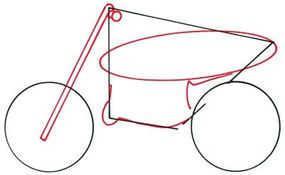
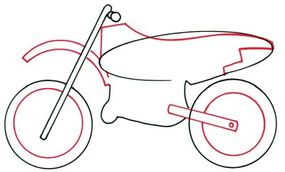
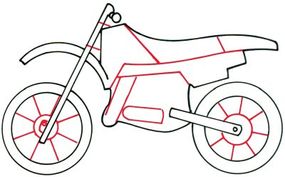
Each car drawing in this article begins with a few simple shapes in red ink. The second step shows the first drawing in black, with new shapes and marks in red. This shows you how to make step one's drawing look like that in step two. The steps that follow also show the earlier drawings in black and the new marks and shapes in red.
Either draw the cars freehand while looking at your computer monitor or print out each project to get a closer look at each step. Many people find it helpful to use a ruler or other straightedge to draw straight lines. For circles and curves, trace your pencil around a coin, drawing template, or other circular objects. Sketch lightly with your pencil. This makes it easier to erase mistakes and other marks that change slightly in later steps.
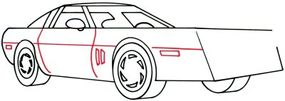
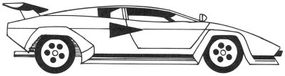
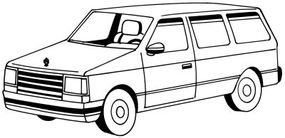
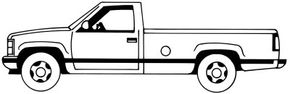
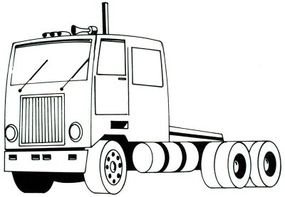
When you are done, use a pen or fine felt-tip marker to darken the pencil marks that make up the finished drawing. Then gently erase any remaining pencil marks.
If you wish, you can add color by using crayons, colored pencils, or markers. You may want to cut out your drawings, and tape or glue them onto colored construction paper. Then you will be the proud owner of an art collection of exciting vehicles. Have fun.
Learn how to draw these cars in 5 steps:
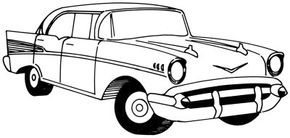
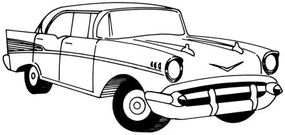
- 1957 Chevy
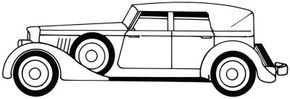
- Classic Car
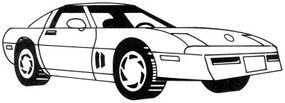
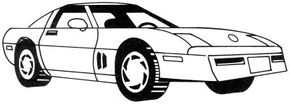
- Corvette
- Ferrari
- Lamborghini
- Minivan
- Pickup Truck
- Semi-Truck
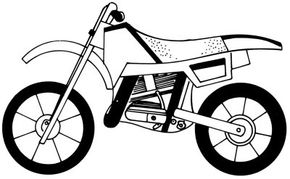
- Motorcycle
See all How to Draw articles.
Advertisement