How to Draw a Tiger
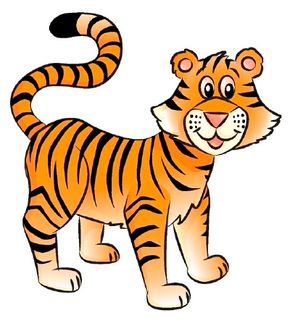
Many artists have chosen this regal cat's striking stripes as a subject for their artwork. Now you can make this stunning animal part of your portfolio.
In this section, we’ll show you how to draw the above tiger. Either draw it freehand while looking at your computer monitor or print out this page to get a closer look at each step.
Advertisement
Follow the red lines in each illustration to learn exactly what to draw in that step. The lines drawn in previous steps are shown in gray. We’ll show you an illustration of each step and then give you a description of how to draw it.
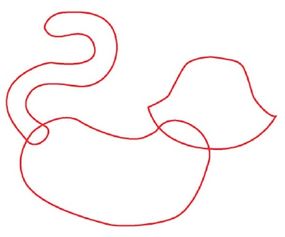
Step 1: Draw a kidney-bean shape for the body and a squat bell shape for the head. Add an S shape for the tail.
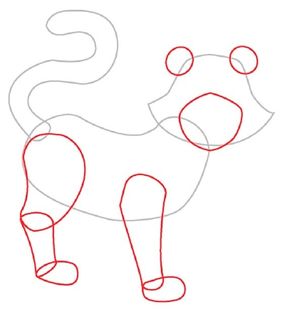
Step 2: Draw the leg forms on the near side of the body, and add ovals for the ears and paws. Sketch a circle shape for the snout.
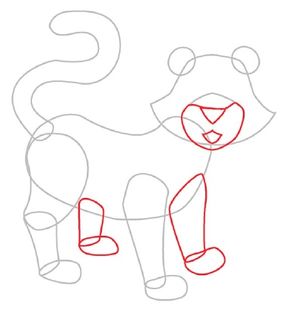
Step 3: Draw the shapes for the legs on the other side of the body, and add ovals for the paws. Put in a snout, and add a triangle nose and a mouth shape.
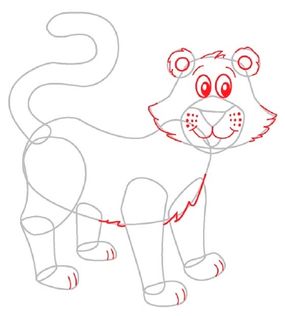
Step 4: Draw ovals for the eyes and circles for the inner ears. Add detail to the eyes and curved lines for the eyebrows, mouth, and toes. Put in spots next to the nose for whiskers. Add hair lines on the head, ears, chest, and cheeks.
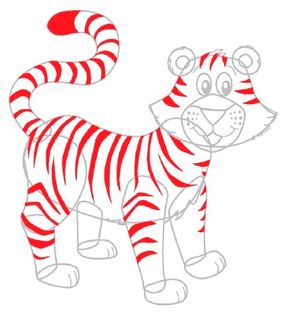
Step 5: Draw stripes over the body, legs, tail, and head.
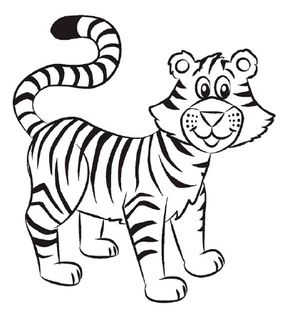
Step 6: Use a felt-tip pen to trace the lines you want to keep, and erase the extra pencil lines.
Next, bring your tiger to life by coloring it with vibrant orange and contrasting black as shown above.
Drawing animals may seem difficult, but when you start each drawing with basic shapes and then add the details, it becomes easy. Practice drawing the animals presented in this article to perfect your artwork. You can also use these techniques to draw other animals that we haven't included. Soon you'll be an expert animal artist!