How to Make a Jewelry Box from an Altoids Tin

Altoids tin jewelry box
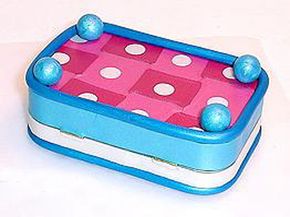
Making an Altoids tin jewelry box using polymer clay is a great tinnovation.
Courtesy Desiree McCrorey

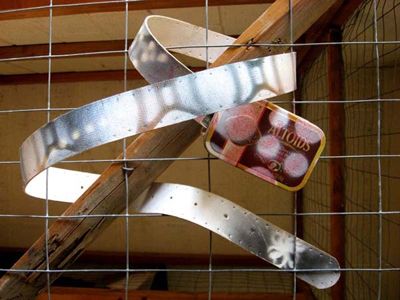
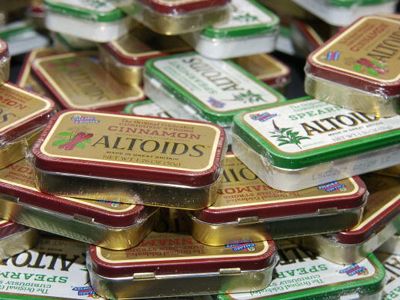
Considering the use she gets out of old Altoids tins, it's ironic that Desiree McCrorey doesn't actually eat the mints. "They're too strong for me," she says [source: McCrorey]. That said, the artist is grateful for all of the people in the world who do love Altoids mints; they provide her with plenty of used tins that she uses to inspire her artistic creations. Using old Altoids tins in new and interesting ways makes Desiree McCrorey part of the oft-overlooked subculture of artists known as tinnovators. "It's one of the best recycling projects going today," she says [source: McCrorey].

Desiree began using Altoids tins artistically after she realized that they provided a wonderful foundation for her favorite medium: polymer clay. This type of clay is made of polyvinyl chloride (PVC) and is popular for its pliability and range of colors. Since the materials' colors are embedded in the very particles that make up the substance, polymer clays of different colors can be used to create a marbled effect. The clay can also be easily fired in a standard home oven, which means that artists don't have to shell out lots of money for a kiln [source: DeVoto].

Advertisement

While Desiree certainly appreciates polymer clay as a medium, it's hardly the only one she uses. The artist has worked with everything from traditional tools like paint and fiber to less standard media like food and wood. "It's hard for me to settle on one thing," says McCrorey. "I love variety."

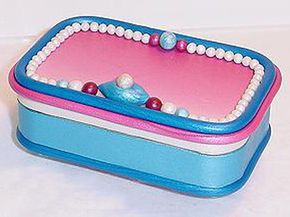
Her love of variety certainly comes through in the wide array of jewelry boxes that McCrorey has made since her interests in polymer clay and used Altoids tins converged. Covered and decorated with ropes and pearls of different colored clay, Desiree's Altoids tin jewelry boxes look almost edible -- like small, delectable cakes. "I must admit when I show people one of my Altoids tin-based creations, I get a real kick from their surprise," McCrorey says. "'You mean it's one of those little mint tins?' That's when I know the transformation was a success, which in turn, feeds the inspiration to decorate more" [source: McCrorey].

Find out how Desiree transforms an Altoids tin into a jewelry box on the next page.

Advertisement
Making the Altoids Tin Jewelry Box

clay feet
Desiree adds embellishments like feet made of clay balls to the bottom of her Altoids tin (shown upside down).
Courtesy Desiree McCrorey

One of the keys to making Desiree's Altoids tin jewelry box successfully is ensuring that the tin is as clean as possible. The cleaner the tin is, the better the polymer clay will stick to it.

Once you've cleaned your Altoids tin, find a large piece of wax paper to use as your work surface. Flatten a piece of polymer clay into a thin sheet. Lay the tin upside down and apply the clay sheet to one edge of the bottom of the tin. Gently follow the clay with your finger as you apply the clay carefully from one edge of the tin to the other. This helps the clay adhere to the tin and prevents the formation of air bubbles. (If you find any air bubbles, prick them with a needle, gently work the air out and cover the hole with the surrounding clay.) Roll over the clay sheet with a Lucite roller and flip the tin back over. Cut the excess clay from the tin's edges with a sharp blade.

Advertisement

With the top side up, apply another flattened sheet of clay to the tin's top, including the surface and sides. Roll the clay out with the Lucite roller. Trim the excess clay by turning the tin onto its top and cutting away at it with a blade.

For the sides of the top and the bottom pieces of the hinged Altoids tin, use flattened strips of clay measuring 11 1/2 inches (29 centimeters) long by five-sixteenths of an inch (0.8 cm) wide for the top sides and 11 1/2 inches (29 centimeters) long by ten-sixteenths of an inch (1.6 cm) wide for the bottom sides. Use the same procedure to apply clay to the top and bottom of the tin. When the tin's completely covered with polymer clay, use an X-Acto knife to cut scores along the sides and top of the hinges to allow them to function properly. Wait until the box has been fired and cooled to actually remove the clay from the hinges.

Now it's time to embellish the jewelry box. For her project, Desiree rolled out clay ropes to accent the top and bottom edges, along with pearl-sized clay balls to use as ornamentation. She also added clay feet made from flattened pearls to the bottom of the tin.

When it's ready to be fired, place the item into an oven that's been preheated to 275 to 300 degrees Fahrenheit (135 to 149 degrees Celsius). Bake for 45 minutes, allow time for cooling and you've got yourself an Altoids tin jewelry box.

Advertisement

Lots More Information

Related HowStuffWorks Articles

  • DeVoto, Jeanne A. E. "Polymer clay FAQ." The Polymer Clay Spot. Accessed July 9, 2009. http://www.jaedworks.com/clayspot/polyclay-faq/basics.html
  • McCrorey, Desiree. "How to cover an Altoids tin." Desired Creations. August 2, 2008. http://desiredcreations.com/howTo_PJCoverAltoid.htm
  • McCrorey, Desiree. Personal correspondence. May 18, 2008.

Advertisement

Loading...