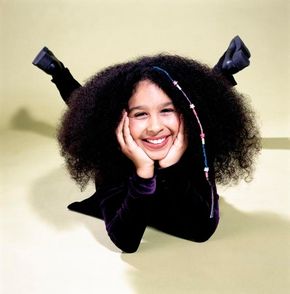
From bows and beads to bubbles and butterflies, in this article you will learn how to make beaded hair accessories of all types in just a few easy steps. Not only are these creative accessories fun to make, they are fun to wear, too!
Take a look at the pages below to learn how to make a variety of beaded hair accessories.
Advertisement
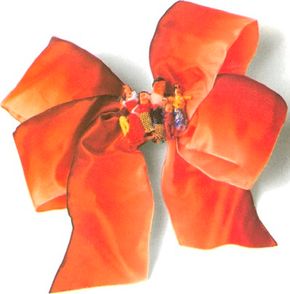
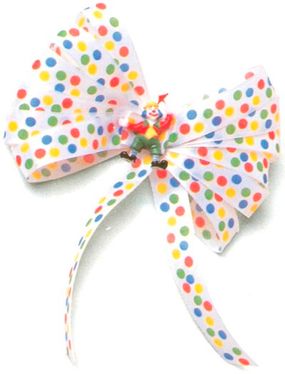
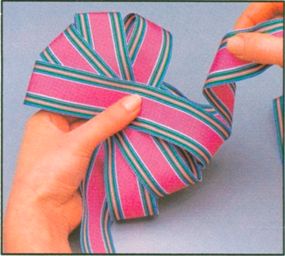
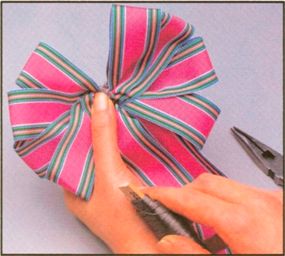
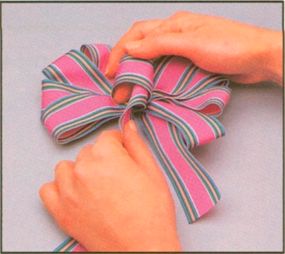
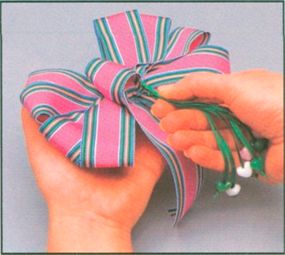
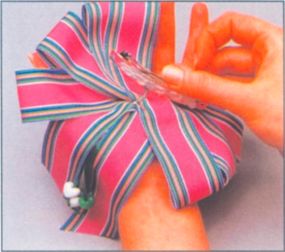
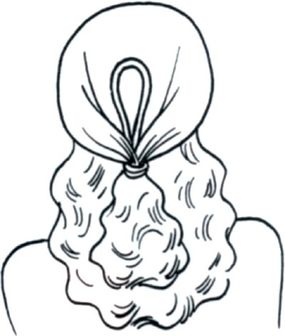
Multiloop Bow with Pullthrough
Kids can learn how to use one simple bow-making technique to make several different beaded accessories for the hair. Go to this page to learn more.
Dragonfly Dance Hair Accessory
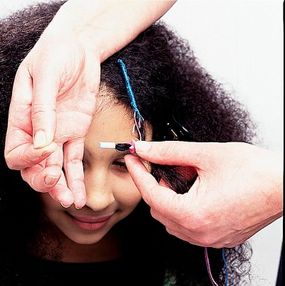
Discover how a few bobby pins and some nylons can transform your do into a work of art! Check out this page to find out how to create this dragonfly dance hair accessory.
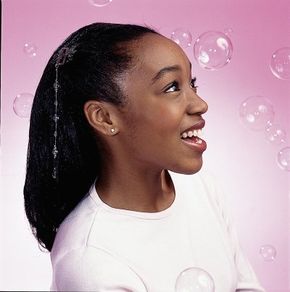
Bubble beads are lots of fun to work with, so kids will surely pay attention to this one. In this section, we'll show them how to make a tiny bubbles hair accessory in 10 easy steps.
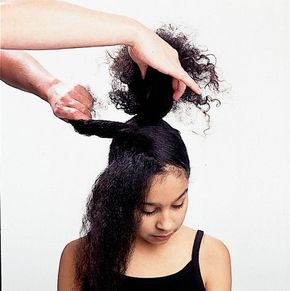
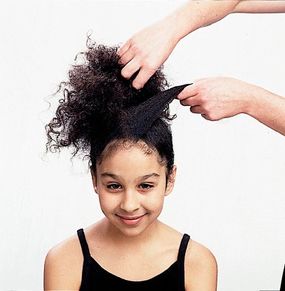
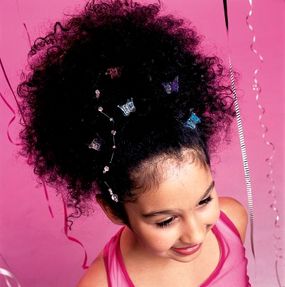
Butterflies Aflutter Hair Accessory
Learn how to make a gorgeous butterfly hair accessory and style your hair at the same time. Go to this section to learn how to create an accessory and a hairstyle that's sure to turn heads!
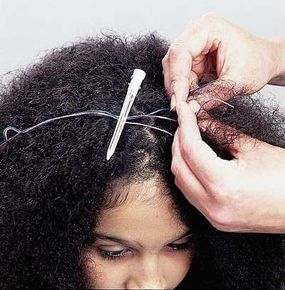
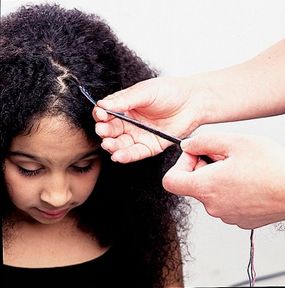
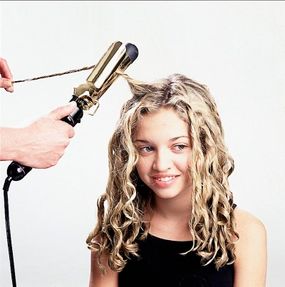
You've never seen anything like it. Watch your hairdo transform into a work of art as you weave beads, wire, and colorful floss into strands of hair. Go to this page to get started.
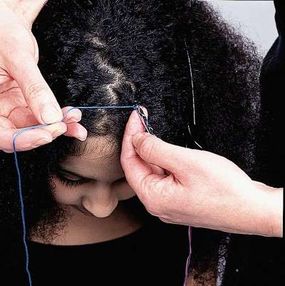
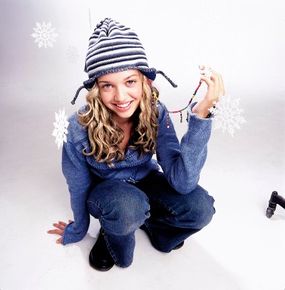
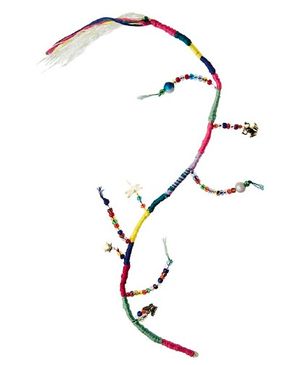
Floss, beads, and gold charms -- your kids will love getting decked out in these glitzy accessories as they create an eye-popping faux hair wrap from scratch. Read the final page of our how-to article to learn how to create this fabulous wrap.
You can continue to the next page to learn how to make a multiloop bow with pullthrough or select your favorite beaded hair accessory and start there. It's up to you!
For more fun crafts and activities for kids, see:
Advertisement