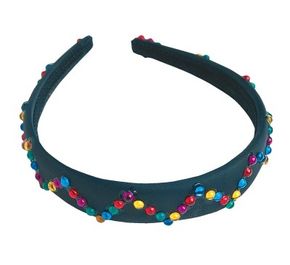
This fit for a queen headband is one of our favorite "how to make beaded headbands" projects. Nestle a crown of pastel beads and shooting stars in this fun hairstyle, and you'll feel like royalty!
What You'll Need:
Metal headband
3 yards 28-gauge wire
50 to 60 pastel beads
15 to 20 pastel star beads
Scissors
Step 1: Cut a 36-inch piece of wire.
Step 2: Beginning 1/4 of the way up and at one end of the headband, secure the wire to the headband by laying 1 inch of wire along the band and wrapping the wire back over itself to secure.
Step 3: Slip a bead onto the wire. Hold the bead in place on top of the headband with your finger, and wrap the wire twice around the headband -- once around the band on the left side of the bead and again around the band on the right side of the bead. Continue doing this for each bead until 4 to 5 beads are attached.
Step 4: Add a single shooting star by slipping a star bead onto the wire. Extend the wire approximately 1/2-inch above the band. Pull the star up on the wire, then fold and twist the wrapping end of the wire around the extended wire down to the head band. Continue to add beads as in step 3.
Step 5: To add double shooting stars, extend wire up 3/4 to 1 inch above the band. Slip on the first star, and twist the wire halfway down the extended wire. Slip the second star onto the wrapping wire, extending this side wire about 1/4 inch.
Step 6: Fold and twist the wire around this second "branch." Finish by twist wrapping the wire down the original extended wire.
Step 7: Continue adding beads, stars, and double stars following steps 3 through 6. When the first wire is almost used, wrap the last 1 inch back around the last 2 to 3 beads. Follow step 2 to secure the end of a new piece of wire. Continue in this way until the headband is finished.
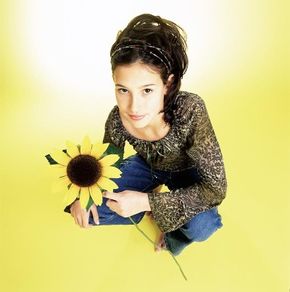
Now it's time to create the perfect hairstyle for your grand headband. The steps below will show you how.
Step 1: Work a defining cream through your damp hair by massaging it into your hair with your fingers. Use your dryer on high to give your hair movement and body.
Step 2: Place the headband in your hair.
Step 3: Around the front hairline, pinch sections of hair and lightly spray them to define the ridges or "pleats."
Step 4: Use a diffuser on your blow dryer to "set" the ridges in place. If you don't have a diffuser, you can place a hairpin at the front of the ridge, spray it, and let it set for a moment. Then remove the hair pin.
Step 5: With your fingers, lift and spread the hair behind the headband and spray it to hold it in place.
In the final section of this article, find out how you can use every color of the rainbow to create intricate headbands. Continue reading to learn how to make rainbow headbands.
For more fun crafts and activities for kids, see:
