The plant kingdom contains some of the most fascinating living things around. And what better way to explore the world of plants than with science projects for kids: classifying plants?
These science projects for kids: classifying plants are simple experiments and activities that will introduce you to some interesting features of plant life and help you cultivate a green thumb of your own.
Advertisement
Follow the links below to learn about fun science projects for kids: classifying plants:
Seeds sprout from a barren brick in this science project. Learn more.
Use your drawing and design skills to warn others about dangerous plants.
What would a plant be without the sun? Find out with this project.
Veggie Flowers Science Project
Some delicious vegetables come from plants that produce flowers, too. Learn more.
Here are some tips for taking care of your carnivorous plant.
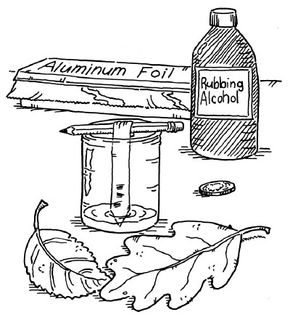
Leaf Chromatography Experiment
Analyze the pigments that make a leaf green with this colorful project.
See a demonstration of one way that cacti survive in low-moisture environments.
Which way is up? The plants know! Find out more.
Watch what happens when the wilderness reclaims a field.
Hit the books and do your homework on horticulture.
Discover the varieties of life in an ecosystem.
The next science project shows you how to grow grass from a stone.
For more fun science projects and activities, check out:
Advertisement