Easy to make and easy to wear, this bunched girls' headband works for sports, school, or everyday fun. Just slip it on and slip it off. It keeps your hair under control and adds a nice touch without much time or effort.
What you'll need:
30" satin ribbon 7/8" wide
30" satin ribbon 5/8" wide
18" elastic 3/8" wide
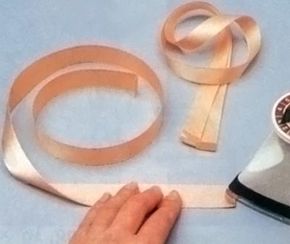
Step 1: Fold back each end of both ribbons 1/4-inch to the wrong side. Iron the ends to form a sharp crease.
Advertisement
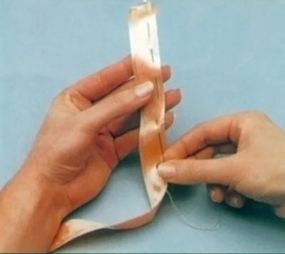
Step 2: With right sides up, lay the 5/8-inch ribbon on top of the 7/8-inch ribbon and center it from side-to-side. Pin the ribbons together to hold them in place. Neatly sew the two ribbons together along the edges of the 5/8-inch ribbon.
Pin the ribbons together and sew.
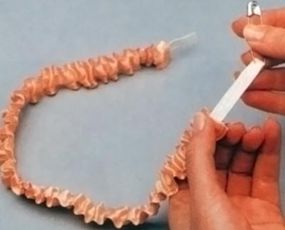
Step 3: Attach a safety pin to the end of the elastic. Insert the safety pin between the ribbons at one end and use it to feed the elastic through the ribbons.
Feed the elastic through the ribbons.
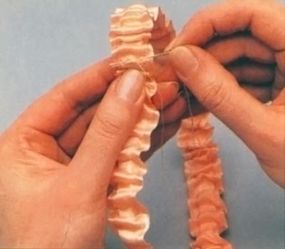
Step 4: Remove safety pin. Overlap ends of the elastic and sew them together securely.
Sew the ends of elastic securely.
Step 5: Now overlap the ends of the ribbon and sew them securely as well.
Sew the ends of the ribbon securely to finish.
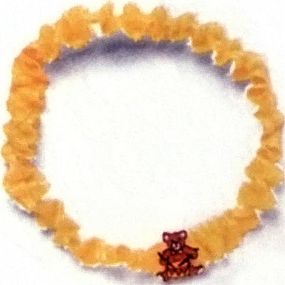
This style is great for infants who don't quite have a full head of hair. Use a few inches less material for a comfortable fit, and maybe add a cute appliqué.
Use a cute appliqué to add some charm.
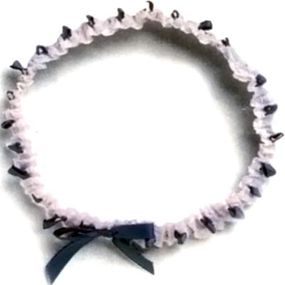
Add some contrast and texture to the headband by using a material that has eyelets in place of the satin ribbon. Simply run a colored ribbon back and forth through the eyelets before you begin. For a final touch, tie a bow with an extra piece of colored ribbon and sew it on.
Add texture with eyelet-style ribbon.
Go to the next page to find out how to make a sensational striped headband.
Make a sensational striped headband that pops with color. The simple, step-by-step instructions, below, show you how easy it is to make this tri-colored headband -- it's so easy, you can create a few to match your favorite outfits.
What You'll Need:
3 lanyard laces
3 yards pink
3 yards purple
3 yards green
Plastic headband
Low-temperature glue gun and glue
Paper clip
Scissors
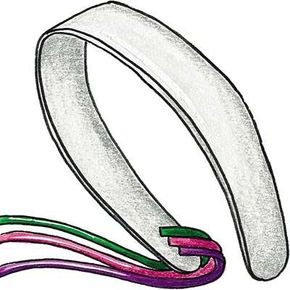
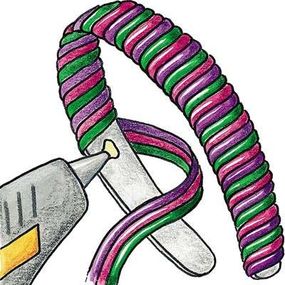
Step 1: Hold the three lanyard laces together with the ends even. Glue the three lace ends side by side on the inside of the headband near one end.
Advertisement
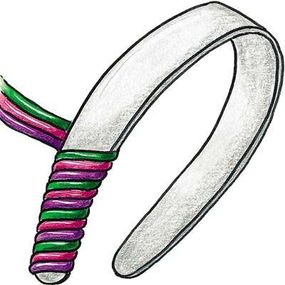
Step 2: Tightly wrap all three laces around the headband.
Wind laces around headband tightly.
Step 3: Continue wrapping the laces, and apply dots of glue inside the headband every time you wrap the laces around.
Apply glue to laces on the inside of headband.
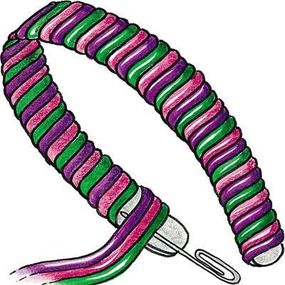
Step 4: Place the end of a straightened paper clip at the unwrapped end of the headband. Wrap the laces around the paper clip.
Place opened paper clip on one end as shown.
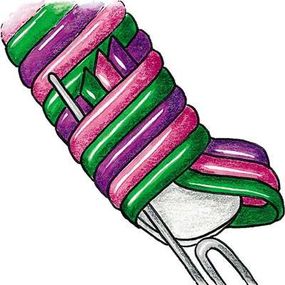
Step 5: At the end, insert the lace ends through the last few wraps. Remove the paper clip, and pull the ends tight. Glue the lace ends to hold. Trim the ends.
Tuck the lace ends, remove paper clip, and pull tight.