After you learn how to make greeting cards, you can express your heartfelt sentiments with style. Friends and family always are touched by the thought and effort that a homemade greeting card communicates.
Making greeting cards is a great activity for parents and kids to share. It's fun, creative, and produces sentiments the whole family will love.
Advertisement
On the following pages, you will learn how to make greeting cards for every occasion. Have fun creating cards with your whole family.
This winning greeting card design is sure to put a smile on someone's face -- especially if it's accompanied by the real thing! See more here.
Learn how to make vibrant greeting cards, or create a collage to preserve birthday memories. Read about versatile Card Cutups on the next page.
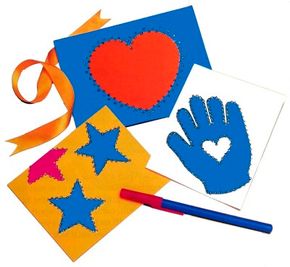
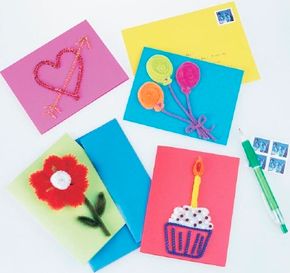
These creative cards come in all shapes and sizes. Learn how to make them for the holidays, or just for fun.
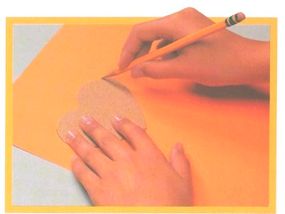
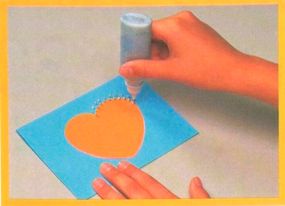
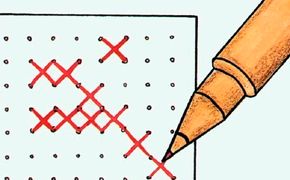
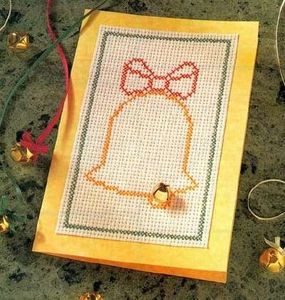
Cross-Stitch-Look Christmas Card
This traditional holiday card will touch the heart of anyone who receives it. Find out how to make this heartfelt card.
Have fun when you design your own Fuzzy Greeting Cards. These three-dimensional greetings will thrill friends and family. See more here.
Naturally They're Nature Cards
Capture the beauty of nature with these delicate greeting cards. Find out how to create classic natural designs on this page.
You can fill Paper Pockets with just about anything. They're a greeting card that's also a gift! Get directions on how to make Paper Pockets.
Show that special someone you care when you make a delicate Stained Glass Heart. Find out how to express your tender feelings.
A Hug for You Card is perfect for anyone in your family who needs a hug. Learn how to make this creative greeting card on the next page.
Learn to make everything you need to package and send gifts. Read:
- How to Make Wrapping Paper
- How to Make Paper Card Holders
- How to Make Stationery
- How to Make Paper
- Paper Crafts
Advertisement