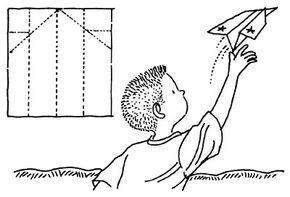
Do you have the right stuff? If you have ever had dreams of being a pilot, the paper airplanes and paper airplane activities for kids in this article are for you and your kids.
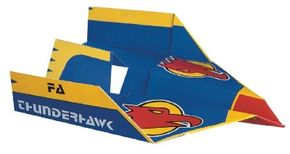
Many of these paper airplanes are based on actual airplanes, like the Thunderhawk or the Thunderdart. Other projects include aviation marvels like rockets. You'll also find awesome activities you can do with your brand new paper airplanes.
Advertisement
Each link below takes you to step-by-step instructions for each paper airplane or activity. Several paper airplanes also include a PDF pattern you can download and print.
Follow the links below to get started on these great paper airplanes and paper airplane activities:
Figure out what it takes to launch the perfect flight with this cool paper airplane activity.
Find out who makes the best paper airplane in this head-to-head paper airplane challenge.
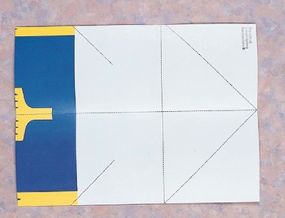
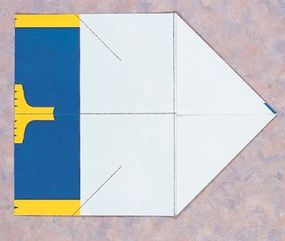
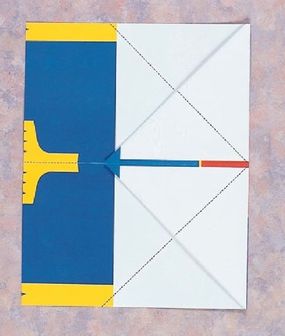
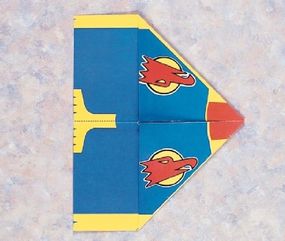
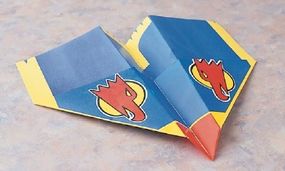
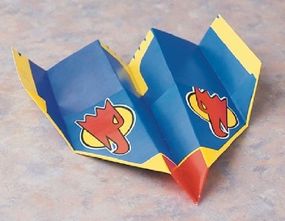
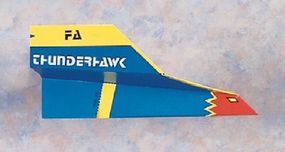
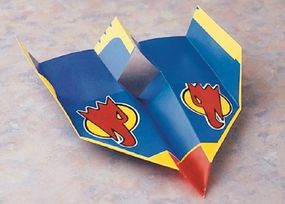
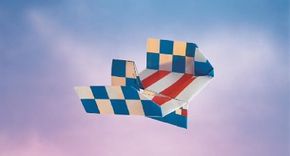
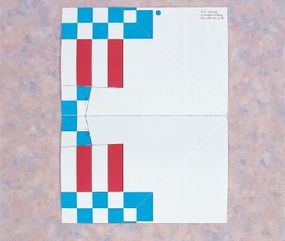
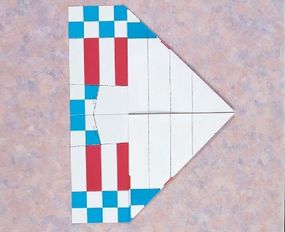
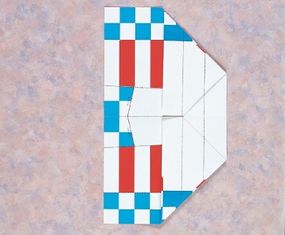
Learn how to make the paper airplane version of this powerful attack bomber.
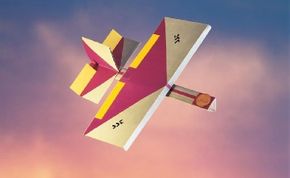
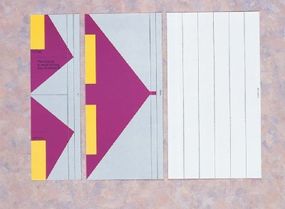
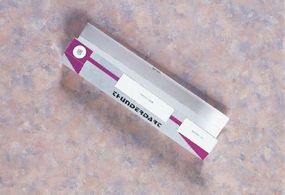
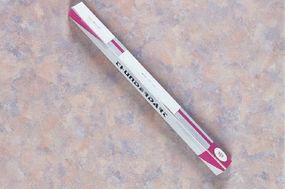
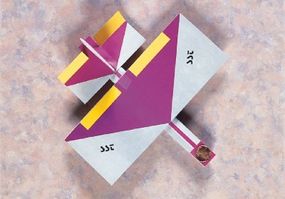
SST Thunderdart Paper Airplane
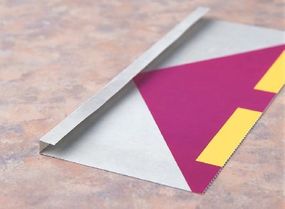
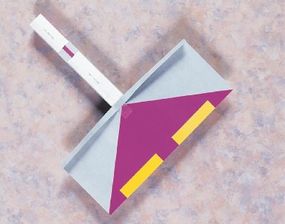
The SST Thunderdart is a speedy plane built for quick attacks. Learn how to build its paper airplane counterpart.
Learn how to make this spectacular paper airplane in several easy-to-follow steps.
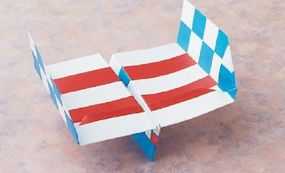
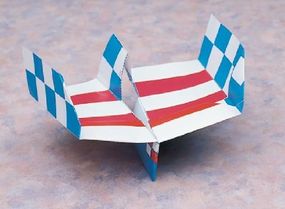
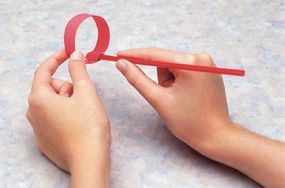
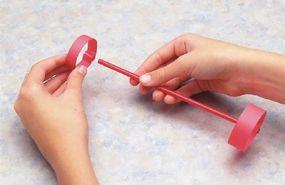
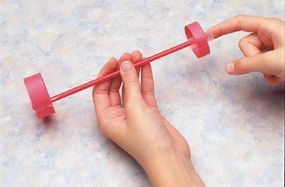
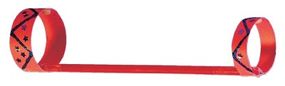
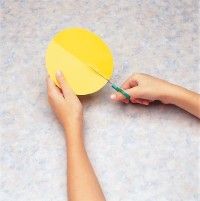
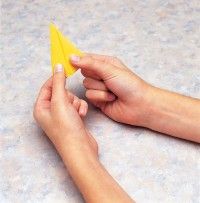
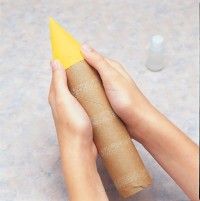
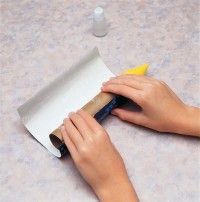
Circular Glider Paper Airplane
This unique paper airplane glider features circular wings, which help propel it through the air.
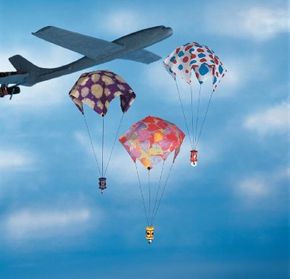
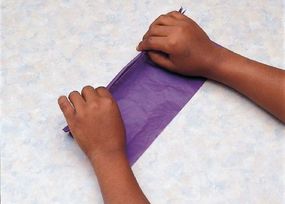
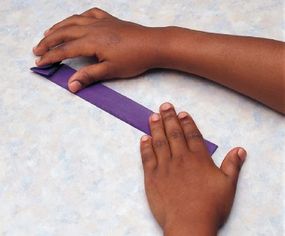
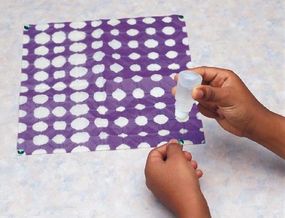
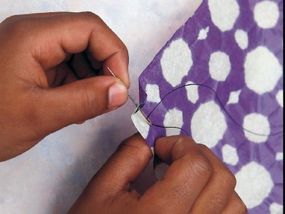
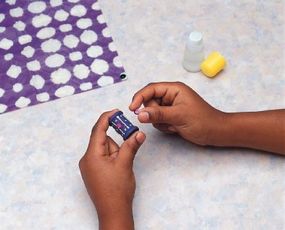
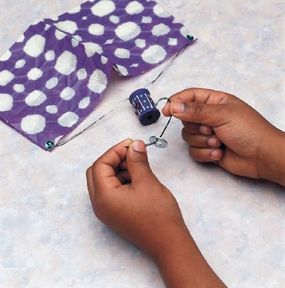
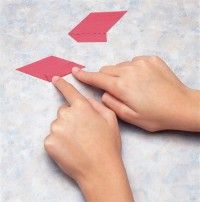
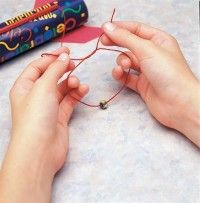
Parachute Pizazz Paper Parachute
Every good pilot packs a parachute or two. Learn how to make these great paper parachutes in several simple steps.
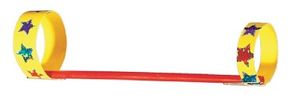
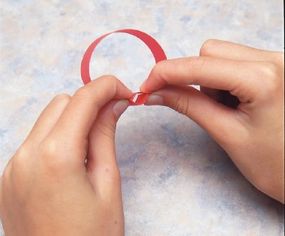
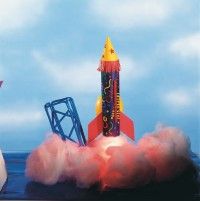
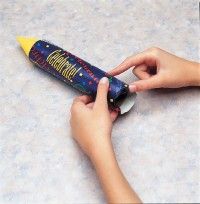
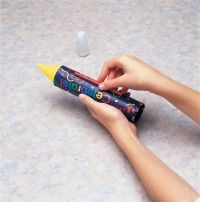
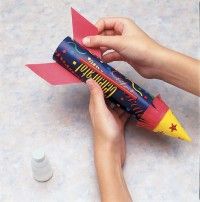
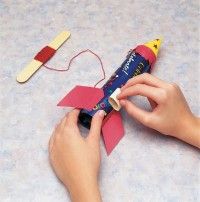
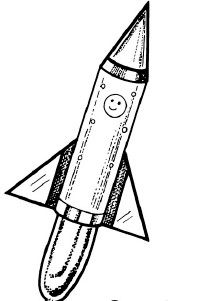
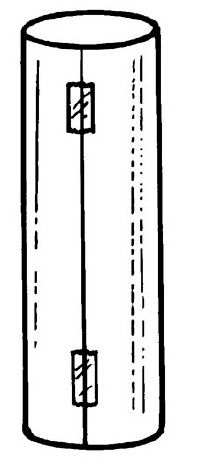
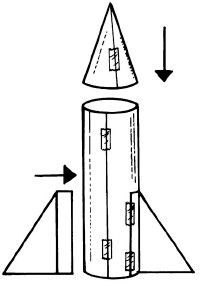
Don't be fooled -- this paper rocket is ready to launch. You can make it in several simple steps.
Blast your paper rocket into outer space with the power of balloon thrusters.
The paper airplane activity in the next section helps you learn how to launch a great paper airplane flight. Keep reading to learn more.
Looking for other great paper crafts? Try:
Advertisement