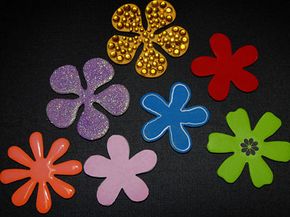
Chipboard is a versatile medium that comes pre-cut in a variety of shapes and sizes for your paper crafting projects. However, most chipboard is sold as raw, cardboard-colored pieces. Figuring out what to do with it can stump even the most experienced crafter. If you have a drawer full of fun chipboard shapes but no idea what to do with them, these seven examples will open up a world of creativity!
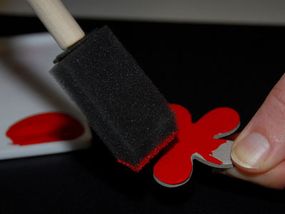
Paint: For most projects, the chipboard will need to be painted prior to using. Inexpensive acrylic paint is available in a rainbow of colors at your local craft store and a few coats will transform your chipboard from blah to beautiful.
Advertisement
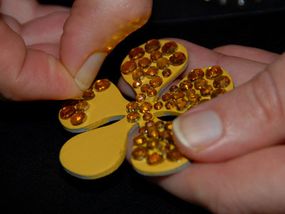
Bling: Everything is better with bling! Use self-adhesive gems to add sparkle to any chipboard project. Use a few as an embellishment or cover the entire chipboard shape for added glitz.
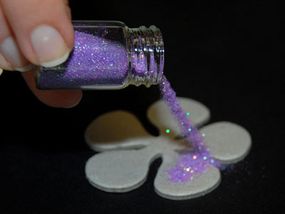
Glitter/Flocking: To cover chipboard with glitter or flocking, do not paint the chipboard prior to using. Cover the top of the raw chipboard with adhesive, sprinkle glitter/flocking generously over chipboard, then use your finger to rub glitter/flocking over entire chipboard surface. Tap off excess glitter/flocking and you're done.
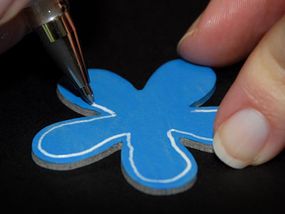
Outline: Once paint is thoroughly dry, use a pen to outline the shape of your chipboard. Specialty pens such as Slick Writers or Signo work best - test your pen on a painted piece of scrap paper for best results.
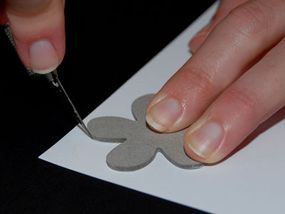
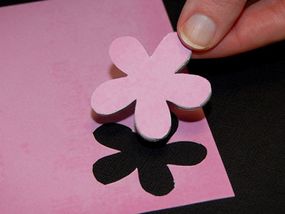
Cover: Leftover scraps of patterned paper are perfect for adding a special touch to your chipboard. For best results do not paint chipboard prior to using. Cover the top of your chipboard with adhesive, then place chipboard upside down on the back of a piece of patterned paper. Using a craft knife, cut out around the chipboard, then use a piece of sandpaper to add a finishing touch to your edges.
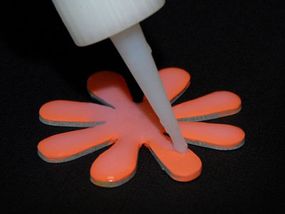
Gloss: Bring a little shine to your projects by using Diamond Glaze. A liquid, dimensional adhesive that dries to a clear, glass-like finish, Diamond Glaze is easily applied and dries quickly to add a polished look to any project.
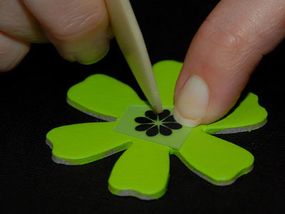
Rub-ons: Rub-ons come in a variety of sizes, shapes and colors, and allow you to personalize your chipboard with patterns or words. Once paint is completely dry, trim selected rub-ons from backing and apply.
Supplies used:
- Making Memories acrylic paint
- Kaisercraft self-adhesive rhinestones
- Xyron 250 Create-a-Sticker
- Doodlebug Sugar Coating glitter
- Signo White Uni-ball Impact Pen
- Fiskars Fingertip Craft Knife
- Diamond Glaze
Advertisement
