How to Draw the Eiffel Tower in 5 Steps

­One ­of the world's most beloved landmarks, the Eiffel Tower dazzles with its intrica­te construction. This drawing might look complex, but our steps make it simple.

In this section, we'll show you how to draw the Eiffel Tower. You can draw it freehand while looking at your computer monitor, or you can print out this page to get a closer look at each step.

Advertisement

Here, we'll show you an illustration of each step and then give you a description of how to draw it. Follow the red lines in each illustration to learn exactly what to draw in that step. The lines drawn in previous steps are shown in gray.
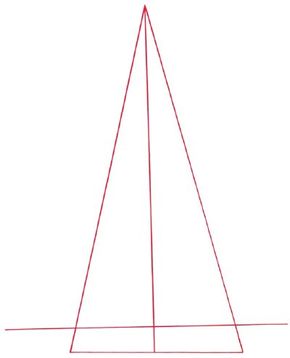
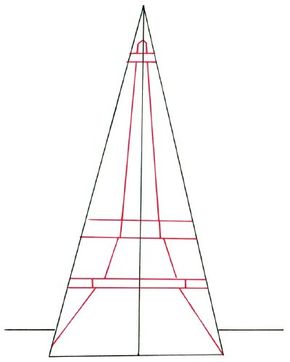
1. Draw a Triangle

Draw a large triangle and split it in two vertically with another line. Add a long horizontal line near the bottom of the triangle for the ground.

Advertisement

2. Lines and Rectangles

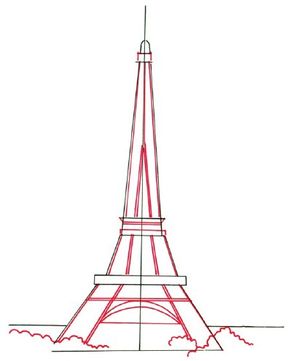
Draw three sets of horizontal lines as shown. Add a small arch near the top of the triangle. Shape the tower with three sets of slightly angled lines. Add a set of vertical lines to both of the lower horizontal tiers to create rectangles.

Advertisement

3. Connect the Lines

Draw two vertical lines under the arch. Connect them at the top with a horizontal line. Add a second line to each of the slightly bent lines as shown. Draw an upside-down Y in the top tier with double lines. Divide the rectangle near the center of the tower with a double horizontal line and a single horizontal line.

Connect the upper double horizontal line to the line above it with an angled line. Add two short vertical lines to the single horizontal lines to connect them to the lines below. Continue double lines below the second horizontal tier. Draw double angled lines below the third horizontal tier. Use curly lines to add shrubs.

Advertisement

4. Supports

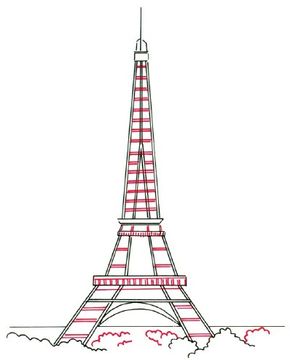
Draw many sets of double horizontal lines for the supports. Add several diagonal lines below the upper part of the tower. Detail the two lowest rectangles with short double horizontal lines. Outline the lowest rectangle. Add more shrubs with curly lines.

Advertisement

5. Details

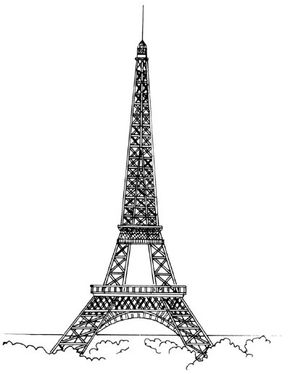
Draw double X-shaped figures in all the rectangles created by the previous step. Shade the horizontal tiers with diagonal lines. Add double bent lines to the curve at the bottom of the tower and to the area above it.

Your drawing is finished! Even if you don't get it right the first time, keep practicing until you're happy with your drawing.

Advertisement

No medieval scene is complete without great, towering castles. Learn how to draw castles in just five steps in the next section.

See all How to Draw articles.

Advertisement

Advertisement

Loading...