How to Draw Boxcars in 6 Steps

Draw boxcars to create your own railroad scenes, complete with fully loaded freight trains.­
Publications International, Ltd.

­Ride the rails in your imagination -- follow the easy, step-by-step instructions on this page to draw your own boxcars.

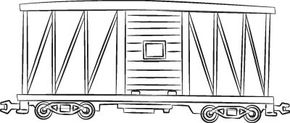
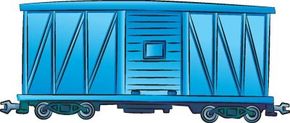
In this article, we'll show you how to draw the above boxcar. Either draw it freehand while looking at your computer monitor or print out this page to get a closer look at each step.

Advertisement

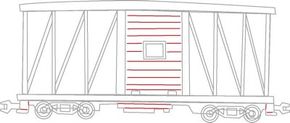
­Follow the red lines in each illustration to learn exactly what to draw in that step. The lines drawn in previous steps are shown in gray. Here, we'll show you an illustration of each step and then give you a description of how to draw it.

Are you ready to get started? Check out the next page for the first step.

Advertisement
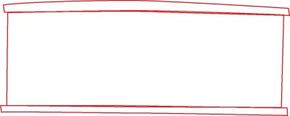
1. Draw the Body Outline

­

­Start the boxcar with one large rectangle. Add long, skinny rectangles to the top and bottom of the main rectangle (they should be a little longer than the main rectangle).

We'll add some detail to the body on the next page.

Advertisement

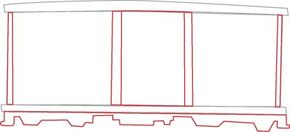
2. Add Detail to the Body

­

­Draw a large rectangle in the center section of the car for the doorway. Sketch a thin, vertical rectangle on both sides of the door and another at both ends of the car. Add an angularly shaped line underneath the boxcar to create the bottom of the car.

On the next page, we'll learn how to draw the wheels.

Advertisement

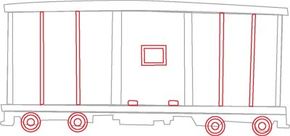
3. Draw the Wheels

­

­Draw four wheels made up of circles within circles. Add four more thin vertical rectangles, two at the front end and two at the back. Sketch two small rectangles at the bottom of the center section, and add a rectangle within a rectangle to the middle of the car.

On the next page, we'll add some detail to the wheels.

Advertisement

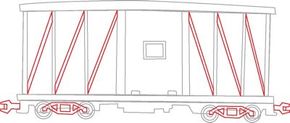
4. Draw the Wheel Axles

­

­Draw thin, diagonal rectangles in each section of the side (except in the middle). Connect the wheels with an axle structure as shown. Sketch two triangles and a rectangle in each axle to add detail. Finish this step with two coupling forms, one at each end of the boxcar. The coupling forms look like the end of a wrench.

Up next, we'll add some detail to the door.

Advertisement

5. Add Detail to the Door

­

­Fill in the center section with horizontal lines to create panel detail. Add a few more detail lines in the center and at the ends of the bottom part of the car.

We're almost done! We'll finish our drawing on the next page.

Advertisement

6. Add the Final Touches

­

­Use a felt-tip pen to trace the lines you want to keep. Erase any extra pencil lines. Want to add even more variety to your train drawings? Go to our next article to learn how to draw tanker cars.


Advertisement


See all How to Draw articles.

Go to the HowStuffWorks home page.

Advertisement

Advertisement

Loading...