How to Draw Allosaurus in 6 Steps

Allosaurus had sharp teeth and claws. Sharpen your drawing skills and learn how to draw this dinosaur.­
Publications International, Ltd.

The­ Allosaurus dinosaur had shar­p teeth and sharp claws. You can sharpen your drawing skills by learning how to draw this dinosaur.

In this article, we'll show you how to draw this ­Allosaurus dinosaur. You can draw it freehand while looking at your computer monitor, or you can print out this page to get a closer look at each step.

Advertisement

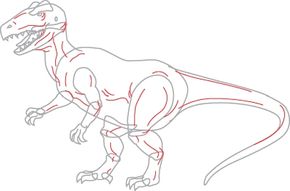
­Here, we'll show you an illustration of each step and then give you a description of how to draw it. Follow the red lines in each illustration to learn exactly what to draw in that step. The lines drawn in previous steps are shown in gray.

Are you ready to get started? Check out the next page for step 1.

Advertisement
1. Draw the Head and Body

­

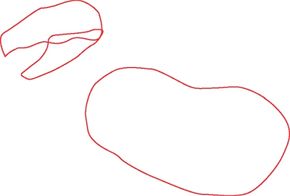
­Start with a potato shape for the body. Sketch two rounded oblong shapes for the upper and lower jaws.

Right now it doesn't look like much, but check out the next page and we'll put some legs on this dinosaur!

Advertisement

2. Add the Legs and Tail

­

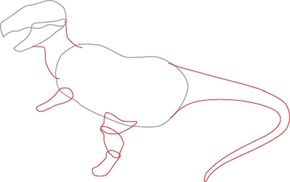
­Draw two bent lines to connect the head to the body. Add a narrow, upside-down pear shape for the back arm. You can make the thigh, shin, and foot from three overlapping shapes as shown. Add two curved lines joining at the end to make the tail.

Our dinosaur is starting to take shape! We'll fill out the arms next.

Advertisement

3. Add the Front Arm

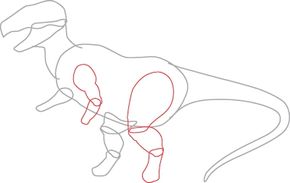
­Make the front arm by sketching another narrow pear shape and a rounded rectangle. Form the front leg with the three overlapping shapes for the thigh, shin, and foot.

This dinosaur doesn't look very menacing.  We'll fix that problem on the next page.

Advertisement

4. Add Claws and Teeth

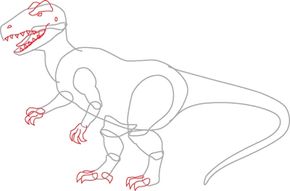
­Draw the fingers and toes at the ends of the arms and legs. The Allosaurus had three fingers. Make sure the claws are sharp! Add ridges at the top of the head like eyebrows. Finish the face with circles for the eye and the ear and triangles for the teeth. Draw a tongue in the mouth and a sideways teardrop for the nostril.

 We're almost done! Check out the next page where we'll add some muscle definition.

Advertisement

5. Add Muscle Tone

­

­Add lines to show realistic detail. The lines in the neck, arms, legs, and tail show muscles. Other lines show skin folds.

We'll clean up the leftover pencil lines, and finish the drawing on the next page. 

Advertisement

6. Erase Pencil Lines

­

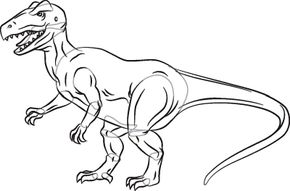
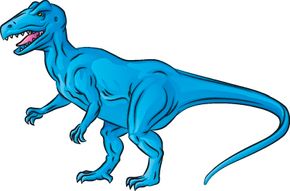
Draw over the pencil lines you want to keep with a felt-tip pen. Erase the extra pencil lines, and the dinosaur is ready to col­or.

Your dinosaur is finished! Even if you don't get it right the first time, keep practicing until you're happy with your drawing.

Advertisement

­The Pachycephalosaurus dinosaur had spots all over its body and bumps on its head and snout. Learn how to draw this dinosaur in 7 easy steps.

­


See all How to Draw Articles

Advertisement

Advertisement

Loading...