How to Draw a Pumpkin in 5 Steps

Halloween Image Gallery Learn how to draw a pumpkin and other flowers and plants with our easy instructions. You can see many more pumpkins in these Halloween pictures.
Publications International, Ltd.

A pumpkin is a very useful squas­h fruit that is used for everything from pies and snack foods to decorations and even home remedies. Most of us are accustom­ed to seeing (and purchasing) orange pumpkins, but believe it or not pumpkins start out with a deep green tone.

In some cases, a pumpkin may never ripen to its bright orange color. Some pumpkin fans actually like the stubborn green ones, often referring to them as "unique."

Advertisement

Here's an amazing fact about pumpkins: depending on the variety, a pumpkin can grow up to 500 lbs. or more!

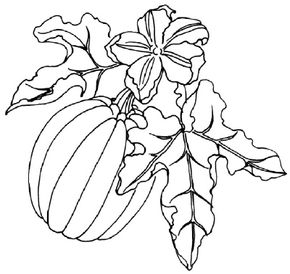
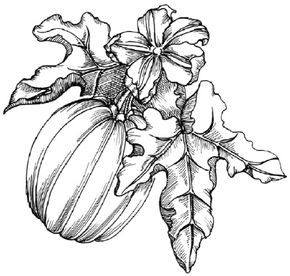
In this section, we'll show you how to draw the above pumpkin. You can draw this fruit freehand while looking at your computer monitor or print out this page to get a closer look at each step.

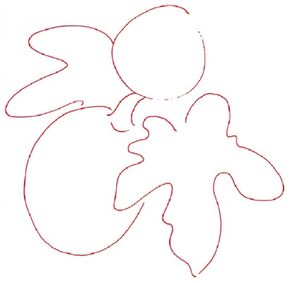
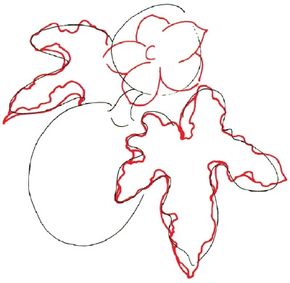
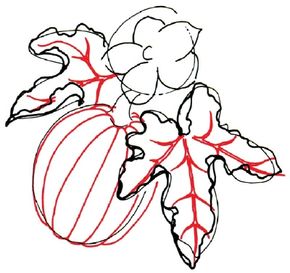
Follow the red lines in each illustration to learn exactly what to draw in that step. The lines drawn in previous steps are shown in gray. Here, we'll show you an illustration of each step and then give you a description of how to draw it.

Advertisement

1. Outline

­

Lightly sketch an oval shape for the pumpkin. For the stem, sketch in an arc and two curving lines. Above the stem, lightly sketch a circle to show the position of the flower. Sketch in two irregular leaf shapes.

Advertisement

2. Sketch Leaves

Lightly sketch a half-circle for the center of the flower and five petal shapes surrounding it. Draw the leaves with very wavy lines.

Show­ that some parts of the leaves fold over by drawing a smooth edge outside the wavy line.

Advertisement

3. Veins and Ridges

To draw the ridges in the pumpkin, start with a long, thin oval in the center. Draw long C-shaped curves to the left of the oval; to the right of the oval, draw backward C shapes.

Interrupt the lines where they meet the leaf. Around the stem, draw short curves to show other ridges. Draw veins in each of the leaves by drawing gently curving lines.

Advertisement

Use a double curving line for the larger veins. 

4. Finish Petals

Define the flower petals with wavy lines. To show that the petals turn over, draw a second wavy line. Draw a small circle for the center.

Give the petals ridges by drawing three lines through their centers. Draw a series of arcs around the bottom of the stem.

Advertisement

Draw the ridged stem with several curving lines. Add a small background leaf below the flower with curving lines.

5. Shading

Shade the pumpkin with long, curving lines near the ridges and at the bottom. Shade the stem with very short lines. Shade the petals with curving lines at the center and tips.

Shade the leaves with short curving lines around the veins and edges. Darken the leaves under the flower with crisscross lines.

Advertisement

Drawing a pumpkin was lots of fun huh? If you like the color orange, let's stick to that family of colors for a bit. Continue to the next section to learn how to draw a marigold.

Advertisement

Loading...