The cast-on row is the foundation row of knitting. There are
many ways to cast on stitches. One method may be faster or easier for you or
may work better for certain techniques, such as buttonholes. Try each of the
cast-on methods below, and start with the one that appeals to you most.
Note:
The cast-on should be as elastic as the body of your knitting. If needed, the
cast-on may be worked using a needle two or three sizes larger than your gauge
needle. Knit the stitches onto the smaller needle as you knit the first row.
Making a Slipknot
The first stitch on your needle for most
cast-on methods is a slipknot.
Step 1: Hold the yarn in your left hand about 8 inches from
the end. With your right hand, make a circle with the yarn (fig. 1a). If it's
helpful, hold the circle together between your index finger and thumb to
prevent it from slipping away.

Making a Slipknot: Figure 1a
|
Step 2: With the working yarn behind the circle, insert the
knitting needle through the circle from front to back and catch the working
yarn, pulling it through the circle and forming a loop (fig. 1b).

Making a Slipknot: Figure 1b
|
Step 3: With the new loop on the needle in your right hand,
gently pull both yarns (the tail and the working yarn attached to the ball)
beneath the needle, then pull on the working yarn to tighten the new loop so
that it fits snuggly around the needle (fig. 1c).

Making a Slipknot: Figure 1c
|
Cable Cast-on
This cast-on is especially good when you need
a firm edge. Work loosely, without pulling the stitches too tight.
Step 1: In your left hand, hold the needle with the slipknot
and hold the working yarn in your right hand. Insert the right needle through
the slipknot from front to back (fig. 2a).

Cable Cast-on: Figure 2a
|
Step 2: Wrap the yarn around the right needle from back to
front and pull up a loop, creating a new stitch on the right needle. Insert the
left needle tip into the new stitch (fig. 2b), and slip it onto the left
needle.

Cable Cast-on: Figure 2b
|
There are now 2 stitches on the left needle (fig. 2c).
Note: To prevent
the cast-on edge from becoming too tight, insert the right needle from front to
back between the 2 stitches on the left needle before tightening the yarn.
Gently pull the working yarn to snug up the stitch.

Cable Cast-on: Figure 2c
|
Step 3: With the right needle in position between the 2
stitches on the left needle, wrap the yarn around the right needle as shown
(fig. 2c), and pull through a new loop.
Step 4: Using the tip of the left needle, slip the new
stitch from the right needle as before (fig. 2d), and slip the right needle out
of the stitch.

Cable Cast-on: Figure 2d
|
Repeat steps 3 and 4 to cast on additional stitches. End
with step 4 to complete the last cast-on stitch.
Long Tail (or Slingshot) Cast-on
The benefits of this
cast-on method are that it's quick to do and makes an elastic edge. Both
working yarn and tail are used.
The tail length should be roughly three times the width of
your desired cast-on, or about 1 inch (2.5cm) per stitch for worsted weight
yarn, plus several inches extra for the yarn tail allowance to weave in later.
If you underestimate the length of yarn tail needed, pull out the work, add
more yarn to the length, and begin again. Or, begin the cast-on using two balls
of the same yarn: One serves as the "tail," and the other is the
working yarn. Tie the ends together in an overhand knot, leaving about a 6-inch (15cm) tail, and then make the slipknot as usual and
begin the cast-on. When the cast-on is completed, cut one of the yarns, leaving
about 6 inches (15cm), and begin to work with the other. When the garment is
finished, untie the overhand knot and weave in the loose ends.
Step 1: Place the slipknot onto the needle held in your
right hand, with the yarn tail in front (closest to you) and the working yarn
(attached to the ball) behind the needle. Pull the working yarn taut over the
left forefinger, and wrap the yarn tail around your thumb from front to back.
Secure both the working yarn and the tail between the remaining 3 fingers of
your left hand and the palm. Place the forefinger of your right hand on top of
the slipknot to hold it in place (fig. 3a).

Long Tail (or Slingshot) Cast-on: Figure 3a
|
Step 2: Insert the needle under the yarn in front of your
thumb, working from front to back and pulling the yarn slightly upward (fig.
3b). Insert the needle over the yarn on your forefinger, moving from top to
bottom so the working yarn lies on top of the needle to form the new stitch
(fig. 3b).

Long Tail (or Slingshot) Cast-on: Figure 3b
|
Step 3: Pull the needle toward you through the loop on your
thumb as you remove your thumb from the loop (fig. 3c). At the same time, pull down on both
pieces of yarn, tightening the stitch by pulling on the tail, keeping the
stitch firm and even but still loose enough to slide easily.

Long Tail (Slingshot) Cast-on: Figure 3c
|
Repeat steps to cast on additional stitches.
Simple Cast-on (Backward Loop Cast-on)
This cast-on is probably
the easiest to learn, but it doesn't have a neat edge like other cast-ons. Use
it when working a few cast-on stitches or on buttonholes. This cast-on tends to
grow longer and become less manageable as you work the first row of knitting,
and the cast-on stitches tighten, making it difficult to insert the needle.
Step 1: Place the slipknot on an empty needle with
the yarn tail in back and the working yarn in front. Hold this needle with the
slipknot in your right hand.
Step 2: With working yarn in your left hand, wrap the
working yarn over your thumb from front to back, and grasp it with your
remaining fingers to tension (fig. 4a).

Simple Cast-on (Backward Loop Cast-on): Figure 4a
|
Step 3: Insert the needle under the yarn looped around your
thumb, working from bottom to top (fig. 4b). Pull up on the needle a little as
you slide the yarn off your thumb and onto the needle.

Simple Cast-on (Backward Loop Cast-on): Figure 4b
|
Step 4: Gently pull on the working yarn to tighten the new
stitch on the needle (fig. 4c).

Simple Cast-on (Backward Loop Cast-on): Figure 4c
|
Repeat steps 2-4 to cast on as many stitches as desired. End
with step 4.
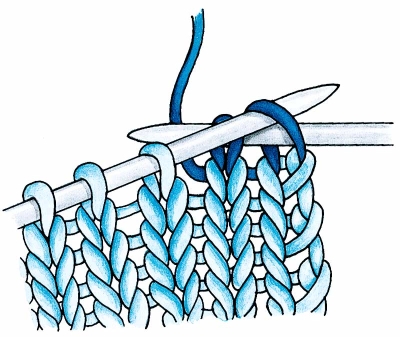
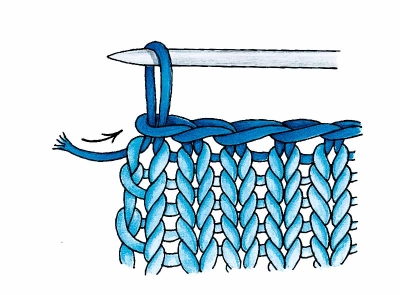
Knitted Cast-on
This cast-on is easy to work and is very
similar to the cable cast-on. The difference between the cable cast-on
and the knitted cast-on occurs after the first stitch is made.
Step 1: Place the slipknot on an empty needle and hold in
your left hand, with the working yarn in your right hand. Insert the right
needle through the slipknot from front to back (see fig. 2a above).
Step 2: Wrap the yarn around the right needle from back to
front, and pull up a loop, creating a new stitch on the right needle. Insert
the left needle tip into the new stitch (see fig. 2b above). Both needles
remain in the new stitch.
Repeat step 2 for each new stitch until all cast-on stitches
are made. Withdraw the right needle after the last stitch is made. Although
both needles remain in the new loop at all times, the stitches collect on the
left needle only.
We'll dive into learning one of the two basic knitting stitches -- the knit stitch -- on the next page.
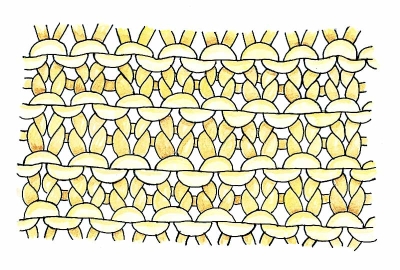
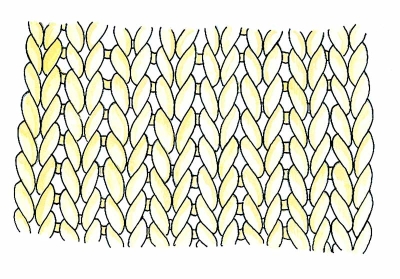
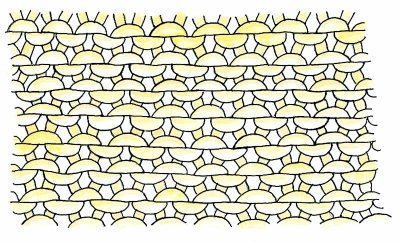
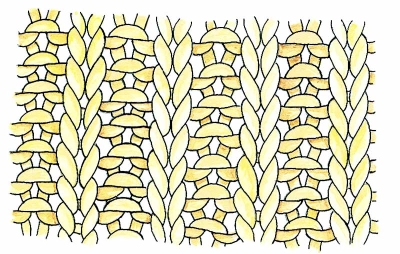
Knit Loops and Purl Loops
Before you venture any further, look at the six
illustrations below. They will help you understand many things about knitting, so
study them well and plan to return to this page often. When a cast-on or stitch
pattern specifies working into the front loop or back loop, simply match the
instruction to the illustration to see exactly which part of the stitch is
being described. 
Front loop
Knitting into front loop
Purling into front loop |

Back loop
Knitting into back loop |

Purling into back loop
|
|
Not what you’re looking for? Try these helpful articles: